
How to Create a Stunning Handmade Diorama Step by Step
How to Create a Stunning Handmade Diorama Step by Step
Table of Contents
Introduction
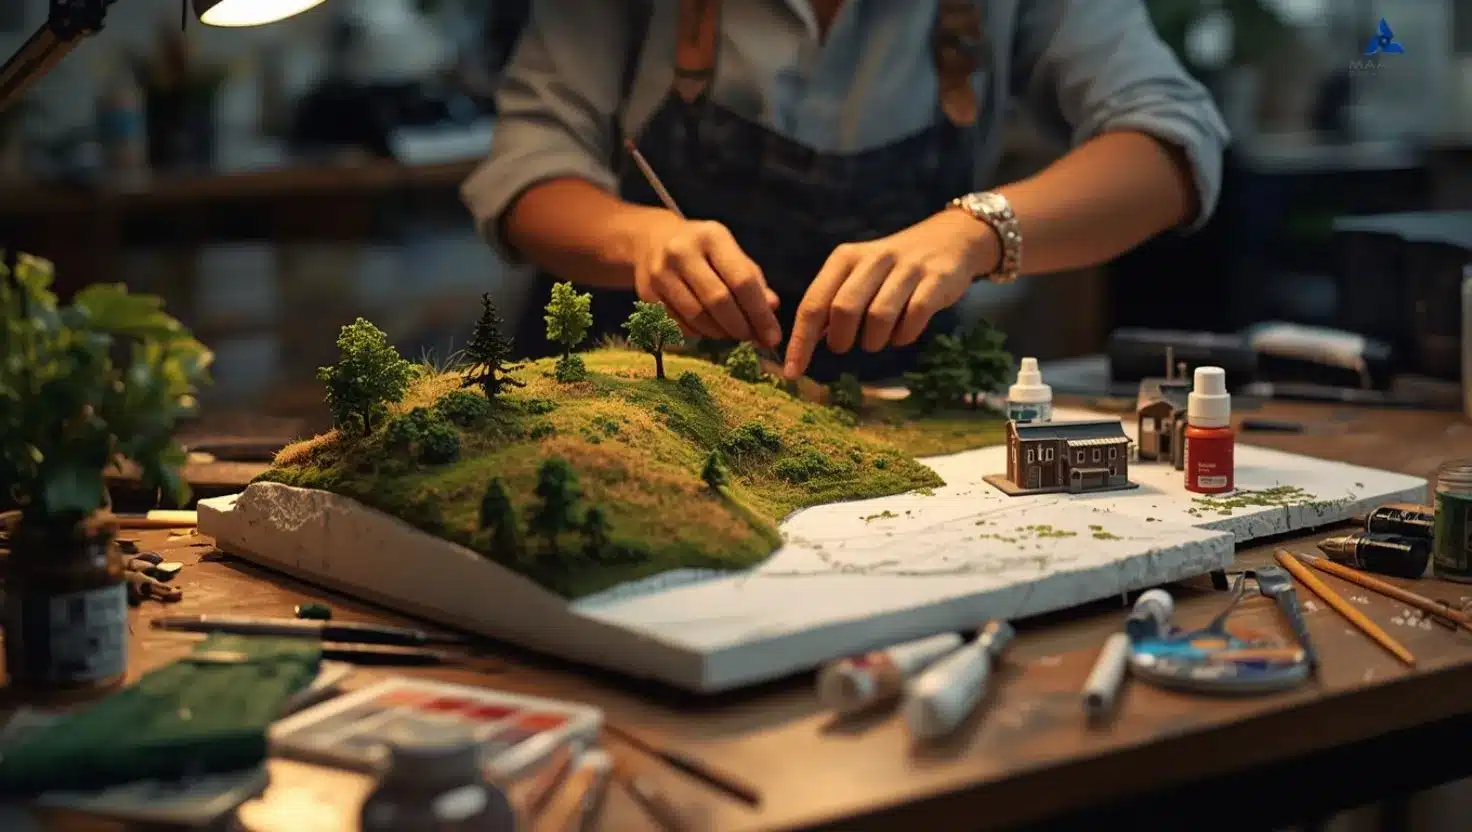
A diorama model is a small three-dimensional version of a scene or idea that replicates reality in a scaled, artistic form. It can portray a natural setting, a built environment, or a fanciful imaginative world of your imagination.
When you create a diorama by hand, you will be using art, design, and technical ability to tell a visual story. It doesn't matter if you are new to diorama creation for a school project or a designer creating a diorama scale model, you will be using time, thought and detail.
This guide gives you help on how to make a diorama from the initial concept to the completed project in detail, including materials, specific techniques, and professional suggestions to create a believable and visually striking diorama model.
What Is a Diorama Model?
A diorama is a miniature view of a larger real or imaginary space, created in scale. Artists, architects, and educators often use dioramas to help visualize space, tell a story, or demonstrate design ideas.
Architectural firms, for example, create scale model dioramas to represent the projects they put into construction. In a school, a teacher may have created a diorama to explain a topic about geography, history, or science. And in art, dioramas are valued for the ability to tell a story and visual appeal alike.
In all cases however, the handmade diorama is an opportunity to express creativity, develop a disciplined building process and understand spatial relationships.
Benefits of Building a Handmade Diorama
Creating a handmade diorama goes beyond a creative hobby. It enhances artistic and technical skills, design thinking, focus, and imagination. Whether you’re a student, hobbyist, or professional, building a DIY diorama offers valuable learning experiences.
- Improving Visualization
The design of a diorama engages development in spatial awareness as well as proportion and perspective which are important concepts in architecture, engineering, and design. By taking a flat idea and converting it into a three-dimensional scene gives you a much better grasp of structure, balance, and composition. - Building Technical Skill
The physical creation of a diorama allows you to develop useful skills when cutting, shaping, painting, and assembling individual materials. You will consider texture in working with multiple materials as well as learning about different tools, color theory, surface finishing, and structure stability when you create. These technical skills or soft skills can be transferable to a place in modeling, design, and prototyping. - Encouraging Creativity
A diorama by-hand is as open a canvas as artistic expression can get. You choose the layout, color, materials you use or will work with, and every time your imagination can tell a story, or you can express your own artistic style, be it abstract or realistic. - Building Presentational Skills
A diorama can communicate ideas visually and will be seen in schools as well as design and exhibitions. The time you spend constructing the model will build or strengthen your verbal presentation skills by explaining your model and decisions, as well as showcasing craftsmanship. - Promoting Patience and Focus
More often than not, creating a diorama takes extended focus and careful time and precise implementation of scaled representation. When you create a diorama, your hand-eye coordination, fine-motor skills, and ability to focus on detail will greatly improve. All of these attributes are valuable in any creative endeavor and can further build the creative professional.
Essential Materials for a Diorama
Choosing the right materials ensures durability and realism in your model. Below are commonly used supplies for DIY diorama projects.
Basic Materials
- Foam board or cardboard for the base
- Modeling clay or air-dry clay for shaping terrain
- Acrylic paints and brushes
- Craft knife, scissors, and ruler
- Adhesive or glue gun
- Natural materials such as sand, moss, and twigs
- Small figurines, vehicles, or model buildings
Optional Enhancements
- LED lighting for depth and atmosphere
- Transparent resin or gloss medium for water effects
- Printed backgrounds for sky or cityscapes
- Artificial grass or flocking powder for realistic ground
Organize your materials before you begin to maintain accuracy and efficiency during construction.
Step-by-Step Diorama Tutorial
Follow these seven professional steps to build a handmade diorama that looks polished and lifelike.
Step 1: Choose the Theme and Scale
Begin by determining the type of scene you would like to construct. For instance, could it be a forest, desert, utopian future city, or historical battle scene? After you select the scene, you must select a scale that matches with the theme. The parts and objects in the diorama are the same scale, it will always look more realistic than if you mix scales.
Step 2: Plan and Sketch for Layout
Now a plan, or simple layout will help facilitate where each element will reside. If you plan ahead, you will avoid crowding your scene and maintain balance in the foreground, middle ground, and background.
An exterior layout works as both a planning document and a way to help see all the elements in their three dimensional pairs.
Step 3: Build the Base
Choose substatial foam board, wood, or thick cardboard for your base. Cut the base to your scale size and depending on the material, reinforce the edges for stability. If building elevation into the diorama, you will need to fasten layers of foam or clay to either create a hill or a flat or elevated platform.
A strong base is both steady and will last longer.
Step 4: Create the Landform
Use clay, plaster, or paper-mâché to create natural forms such as hills, rocks, or rivers. Let it dry completely before painting.
To give texture, while the surface is wet, press sand, gravel, or small stones into the surface. This will add texture and decrease a flat look of the landform.
Step 5: Painting and Texturing
The painting is an essential component that can really set the mood and realism of your diorama. Start with a base coat that is similar to the texture you are trying to replicate, such as browns, greens, or additional earth tones for landscapes, and gray tones for architectural studies.
At that point, you can begin to highlight and comfort the model's feel with some dry-brushing and blending techniques. You can also add textures such as grass powders or moss to give the impression of soil and foliage.
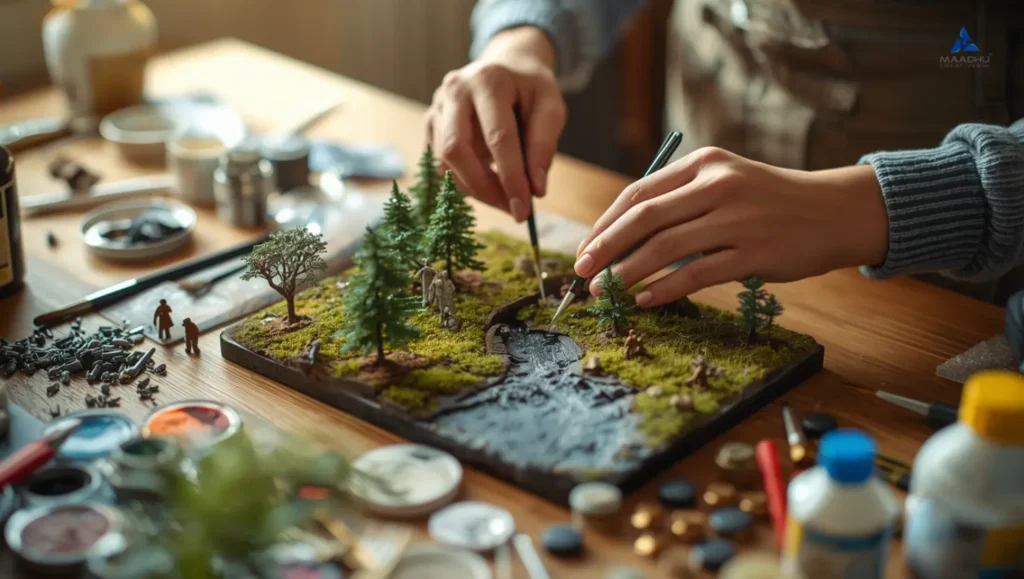
Step 6: Miniature Details
When you finish painting, you will place your buildings, trees, figures, or vehicles according to your initial drawing. Remember to keep the size proportionate in comparison to the environment and feel free to adjust placements until it feels natural.
If your diorama is an architectural focused model, pay particular attention to making sure everything has the same basic accurate dimensions and is glued as cleanly as possible. If the diorama is creative in nature, focus more on telling a coherent story and developing an atmosphere. Once everything is in place, and properly glued, double check the model from different angles to make sure everything feels balanced.
Step 7: Lighting and Final Details
Small details, like small props, are what will truly make the model stand out as a diorama. Fences, rocks, benches, and other minor details all add to the feeling that the model is real and set a mood.
Lighting plays a huge role in any model. Small LEDs can create a similar look to natural light, lights on a street or lights in a window. Lighting of the model helps define additional depth, and also can help to highlight what is key to the model.
After completing the diorama, remove any excess glue, touch up the paint if needed, and then keep a clear cover option to maintain the diorama.
Miniature Diorama Ideas
If you are unsure about where to begin, experiment with these timeless and present day concepts:
- Architectural Diorama: Residential buildings, cityscapes or bridges.
- Natural Landscape Diorama: Forest, desert, or waterfall.
- Historical Diorama: Historical civilizations, battles or cultural life.
- Fantasy Diorama: Sci-fi cities, space colonies, or mythical environments.
- Educational Diorama: Volcanoes, ecosystems, or the solar system.
Each concept allows for experimentation with materials and techniques while improving your creative skills.
Expert Advice on Achieving Realism in Dioramas
- Keep the level of consistency in all aspects of the scene.
- Use neutral colors with a tonality of naturalism.
- Create levels of texture for a variety of depth.
- Mix the front and back grounds well.
- Don’t position elements symmetrically, it is more realistic.
These little things will add overall realism to your diorama and make your composition more visually attractive.
Common Mistakes to Avoid
Many novice diorama makers have failed due to missing small details in the overall result. Avoid these rookie mistakes:
- Being too sloppy with glue or paint; you could lose the textural aspects.
- Ignoring proportional relationships between objects.
- Rushing the drying or painting process.
- Overcrowding the scene with too many features.
- Forgetting to balance light and shadow.
By taking time to review each stage, you ensure a clean, professional-quality outcome.
Conclusion
Making a diorama by hand is an enjoyable medium to develop a design, craftsmanship and creativity. Creating a diorama takes patience, accuracy and creative thinking, which is reflected in the finished product.
Whether you are constructing a diorama model from scratch for educational purposes, an architecture model for a presentation, or a decorative miniature art piece or display for your home, you want to approach the build through systematic instruction in a step by step fashion to achieve appropriate, professional results.
A diorama done well captures not only the feeling of realism in it's construction, but it also conveys a story and invites the viewers into an area full of imaginative detail and creativity.
Recent PostsFAQs
Q1: What materials should I use to create a diorama model?Foam board makes an excellent base, as it is lightweight and stable. For the terrain, I like to use air-dry clay, and for finishing touches to the diorama, I recommend acrylic paints. Natural materials such as sand, moss, and small stones will make it look realistic and provide some actual textures.
Q2: How do I make the diorama look realistic?Pay attention to proportion, how you blend colors, and layer textures. It is important to keep within one scale build, but use natural tones and some level of imperfection such as uneven ground or weathering. Using softer lighting can help askew the eyes and view and deepen the realism.
Q3: How long will it take to create a handmade diorama?Will depend on the size, amount of detail, and the diorama, as well as experience. A simple diorama for beginners can take around 3-6 hours for completion but a more complex architectural diorama might take several days. Be sure to plan ahead and think about allowing some drying time between steps for the best process.
Q4: How do I get started making an effective diorama?In order for your diorama to be effective you need four basic tools: scissors, craft/box knife, glue and either a paint brush or paint pen. You may also find additional tools helpful such as a hot glue gun to attach items to your cardboard or foam board base, or sculpting tools to put finer details on your project.
Q5: How can I safely paint and decorate my diorama without making a mess?Protect your workspace by using protective sheets or newspapers, by wearing rubber gloves when necessary, and by using a paint or adhesive in a well-ventilated area. Use small paintbrushes or precision tools to maintain detailed areas clean.
Thanks for reading
Share via social media Instagram Facebook Twitter LinkedinRelated Blogs

What Is a Maquette Model? Definition, Purpose, and How to Create One
Bring ideas to life with maquette models. Learn their meaning, uses in architecture, sculpture, and design, plus types, materials, and a simple step-b...
Read More
Maadhu Creatives
•May 04, 2026
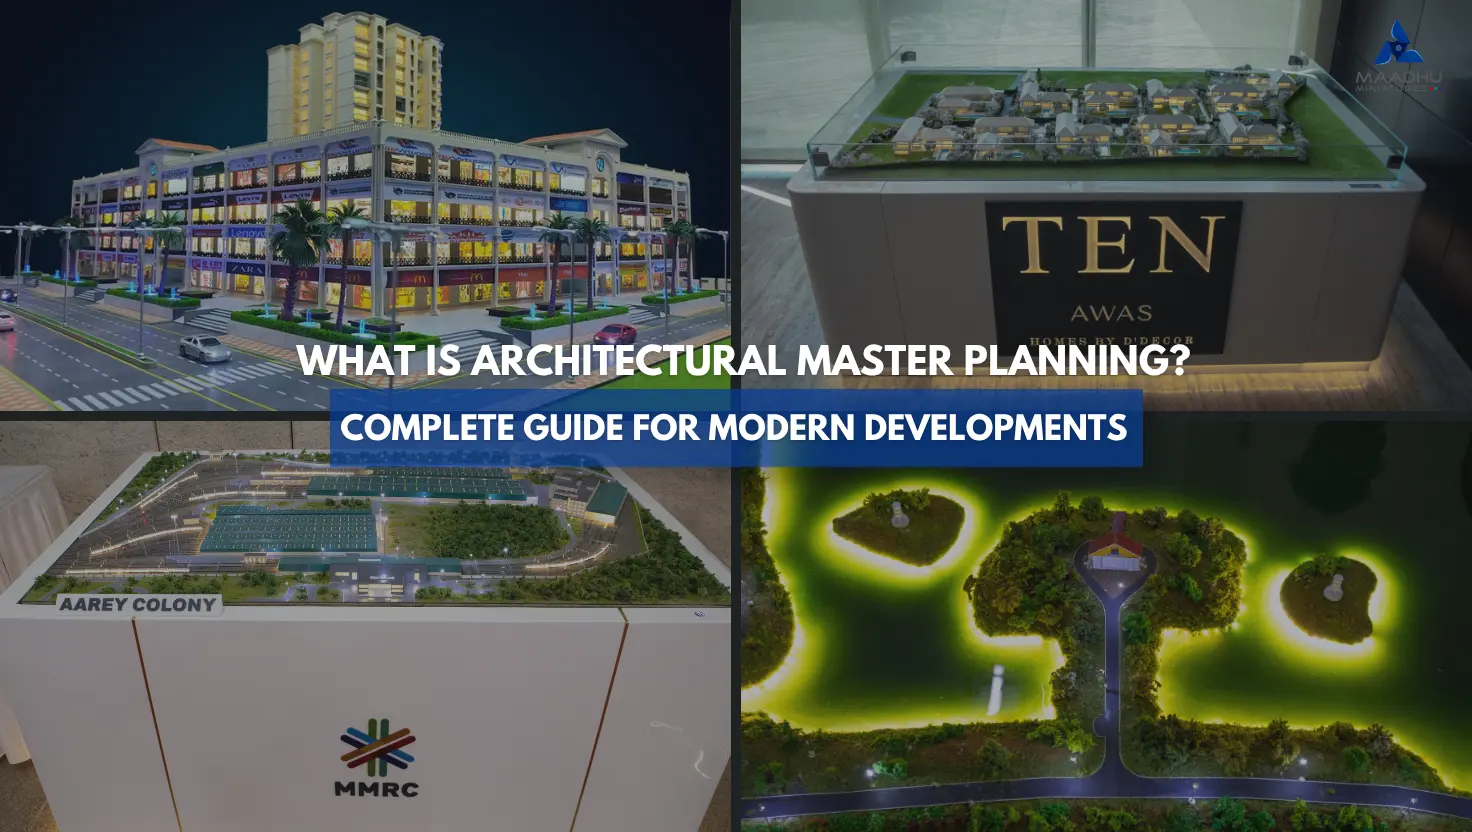
What Is Architectural Master Planning? Complete Guide for Modern Developments
Learn how architectural master planning models help architects and developers present residential, commercial, and landscape projects with clarity and...
Read More
Admin
•July 17, 2026
Custom 3D Physical Models Crafted by Professional Model Makers
Get high-quality miniature and physical model making services for architectural, industrial, engineering, and custom projects. Contact Maadhu Creative...
Read More
Maadhu Creatives
•June 10, 2026