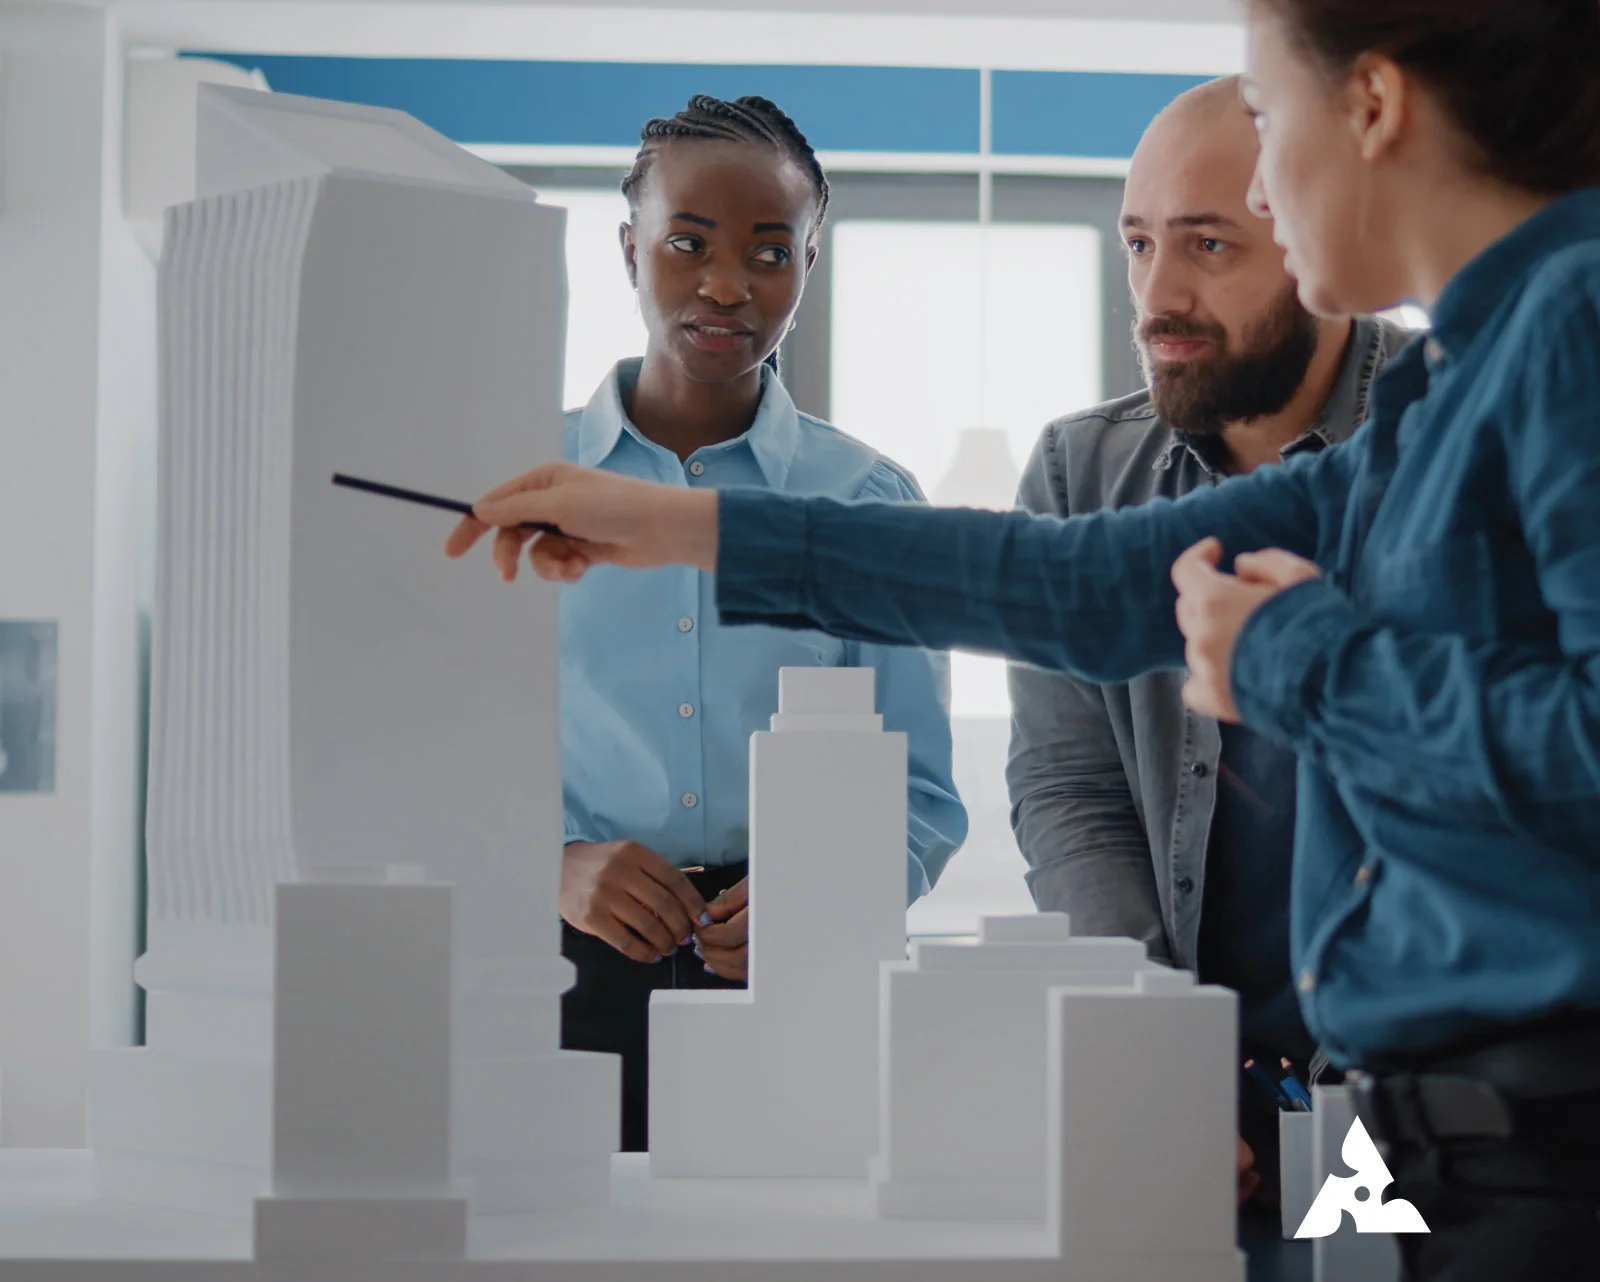
We Build Ideas You Can See and Touch
Scale models, 3D visuals, and precision builds for architecture, industry, and engineering.
READ MOREProject Completed
Clients return
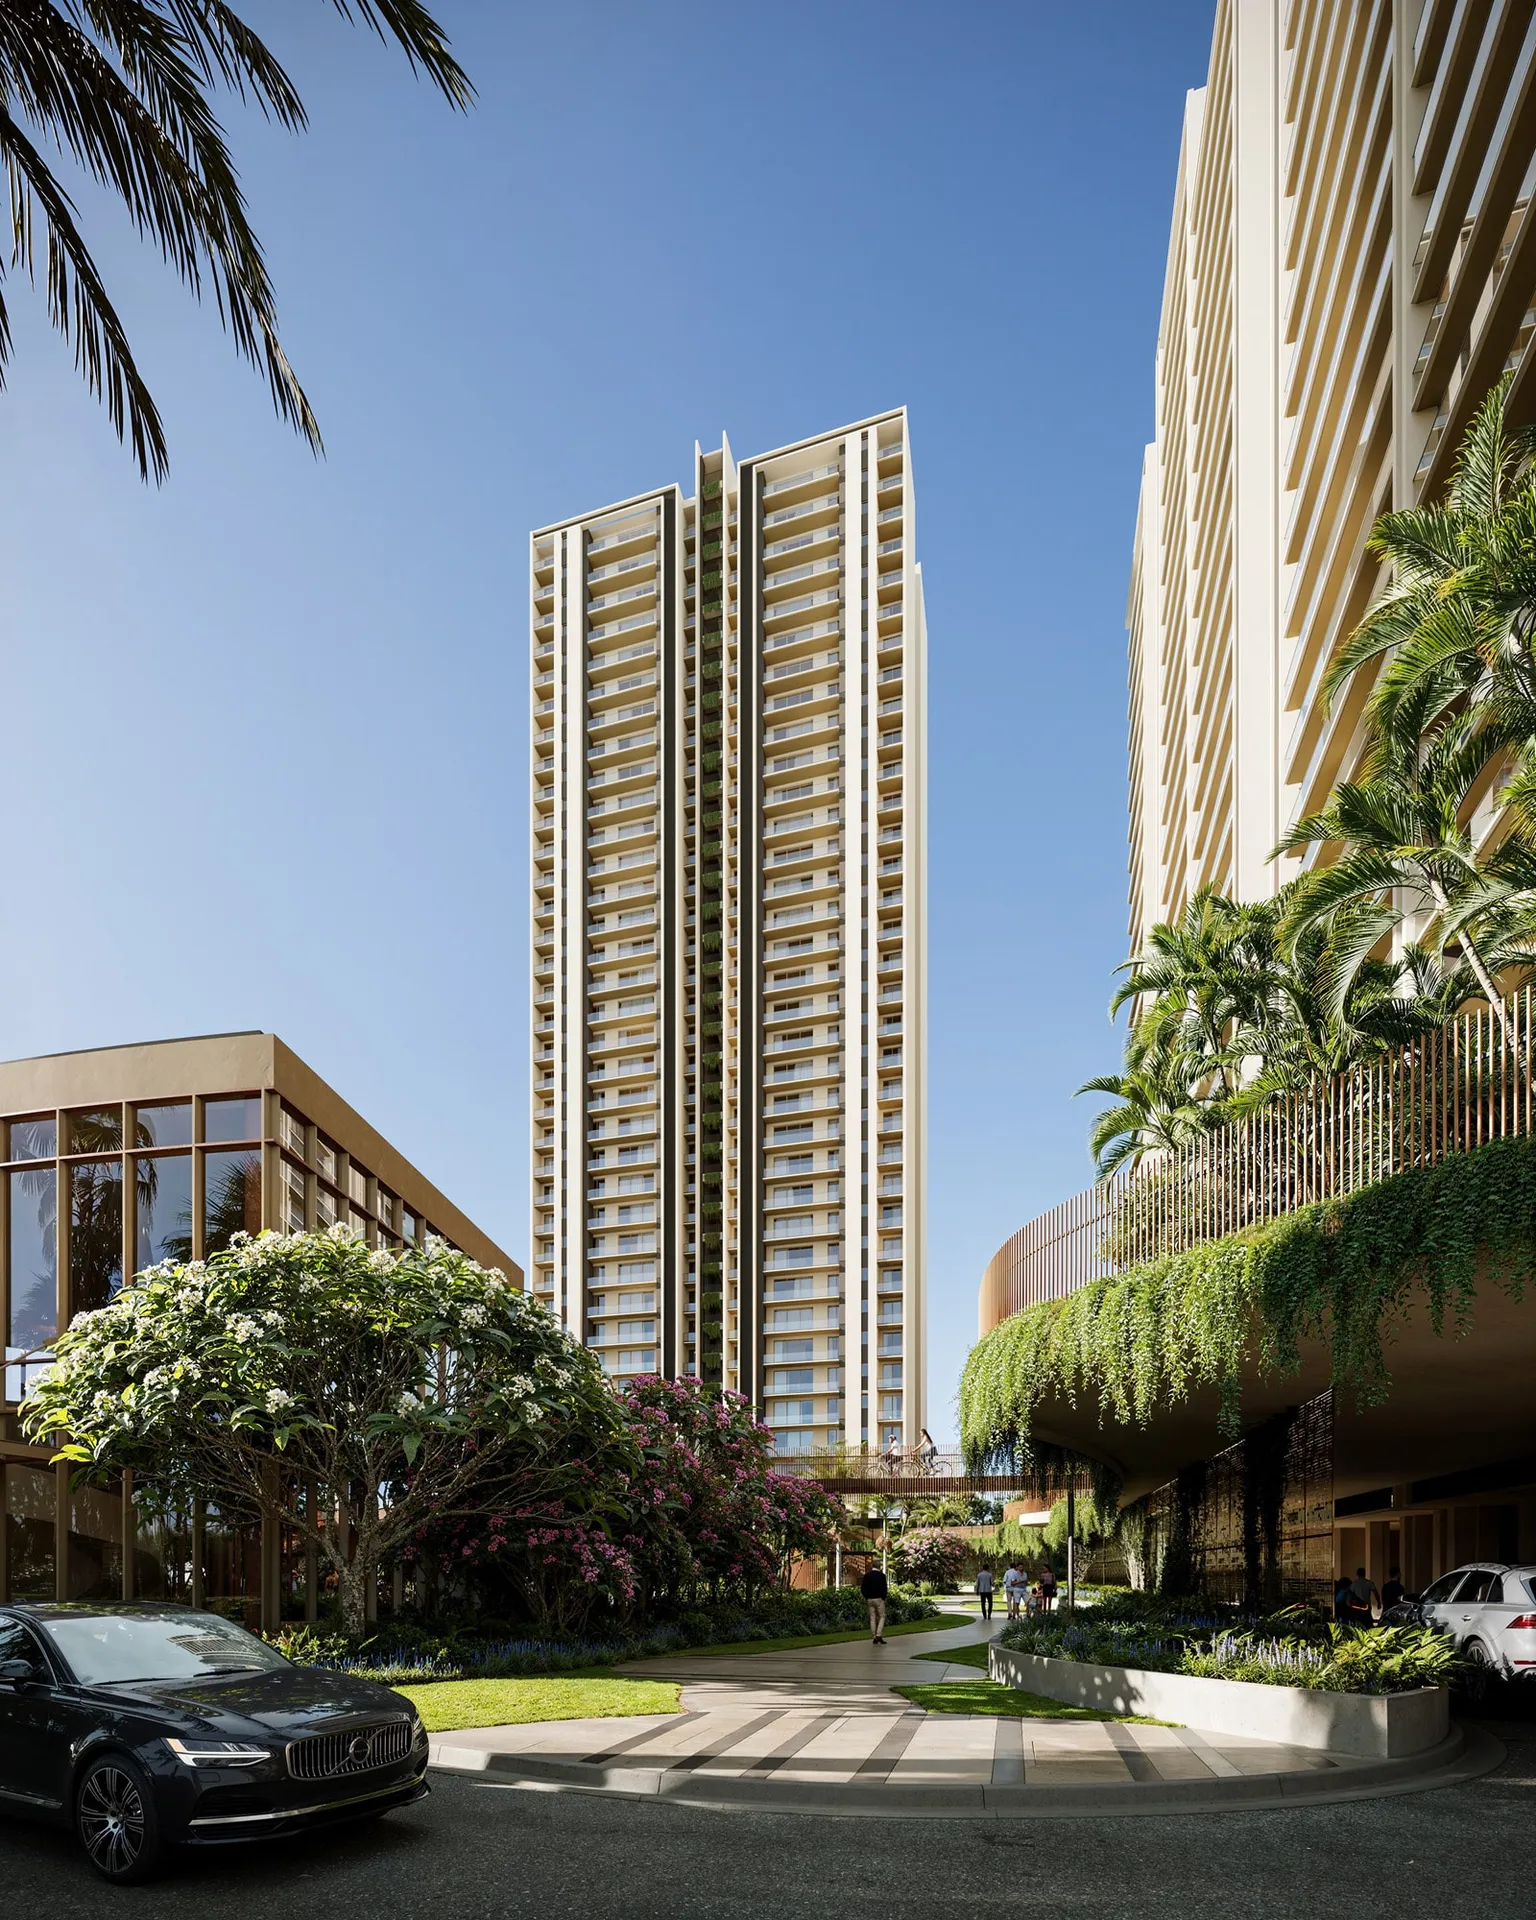
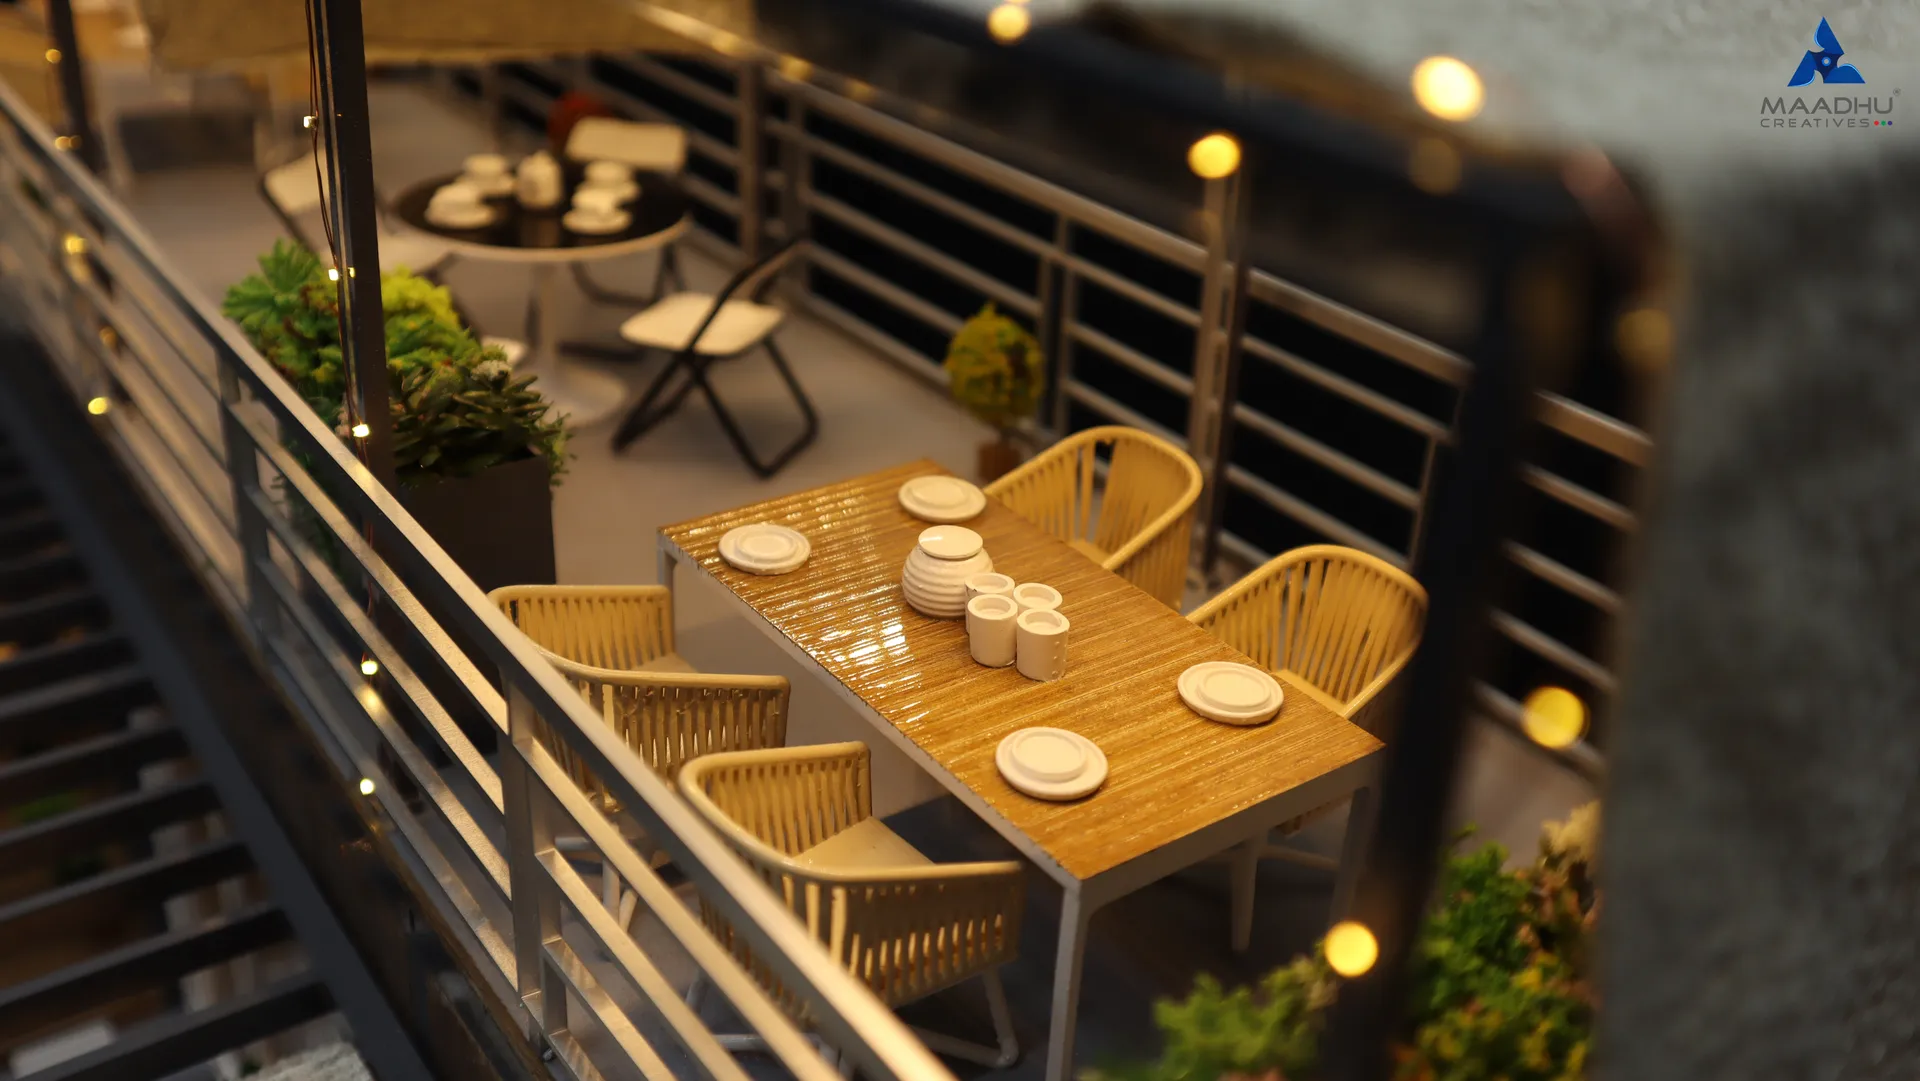
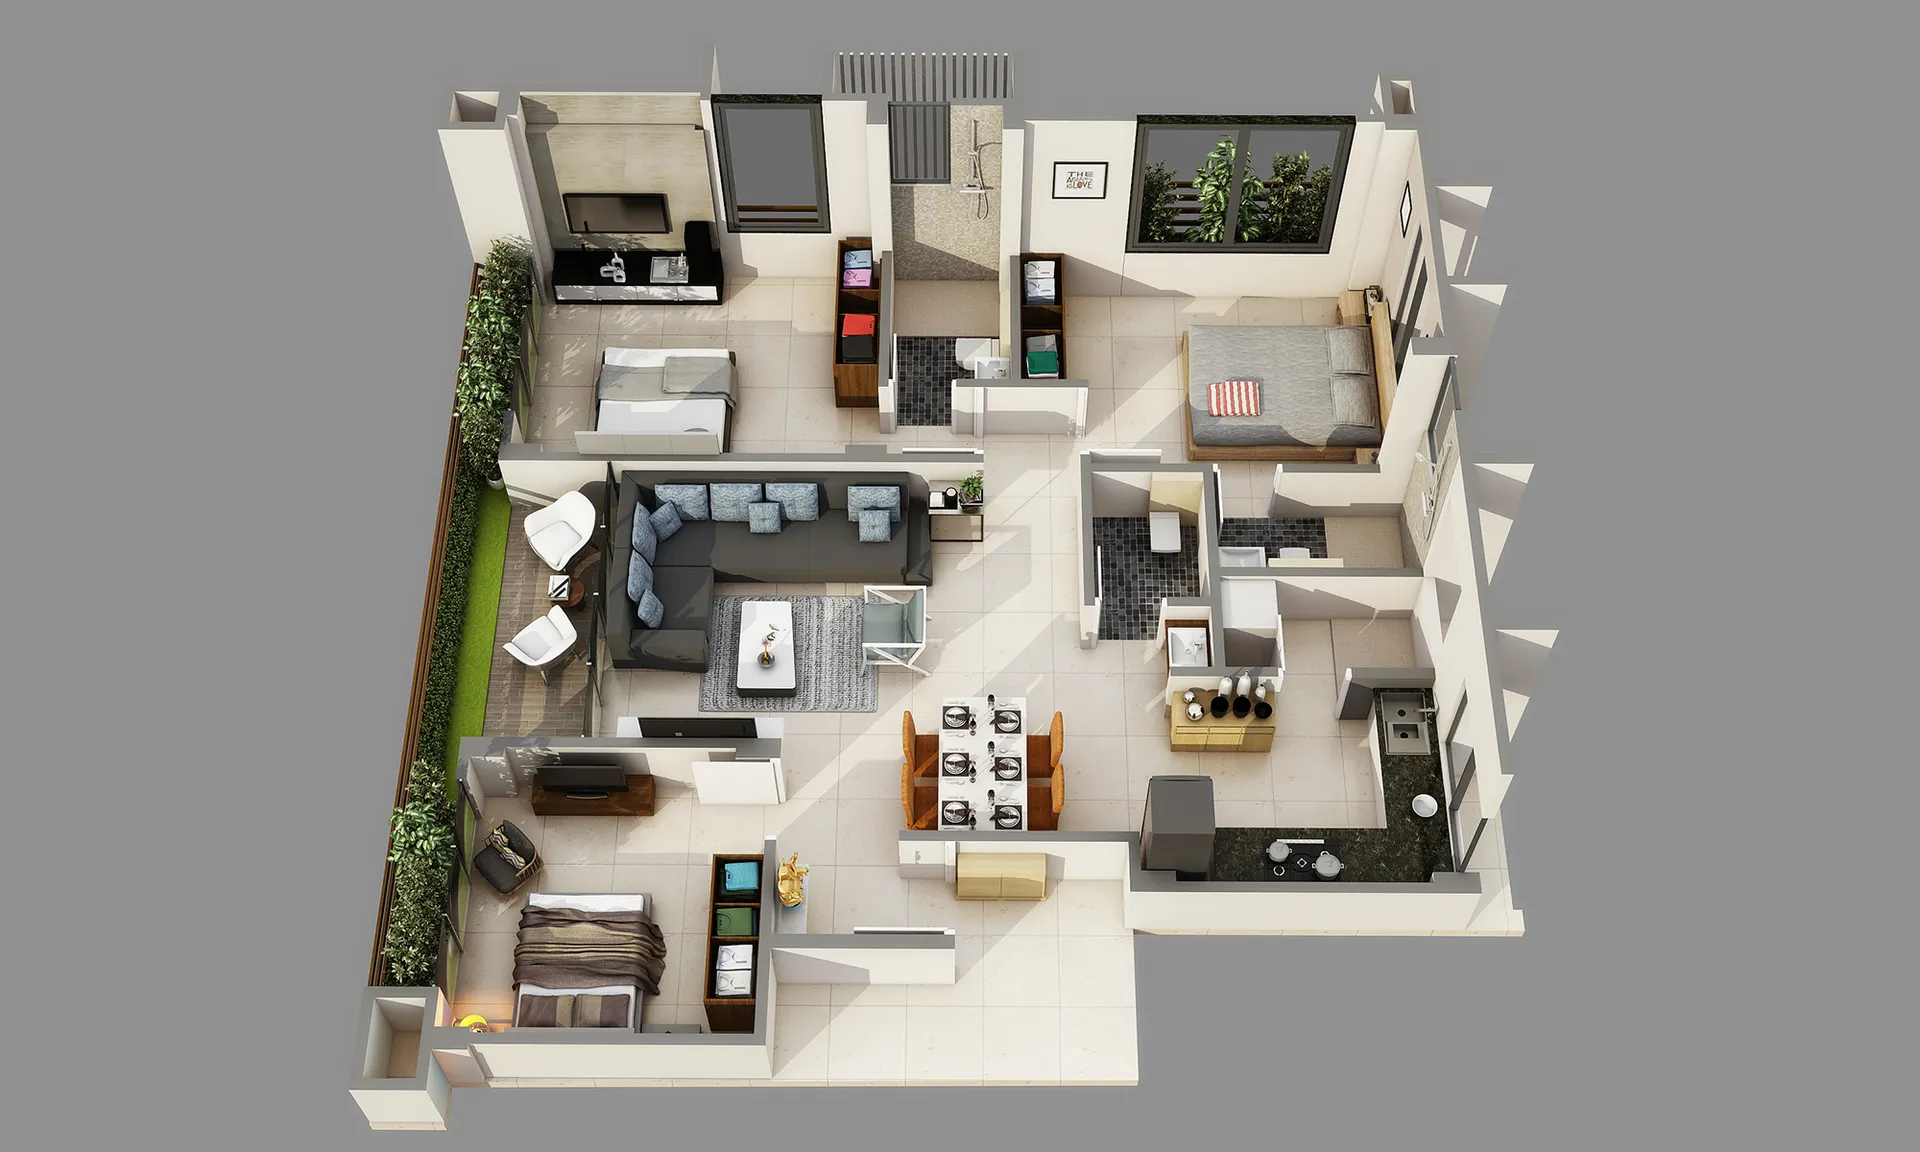
Architectural Model Maker
READ MORETrusted & Global Leading Architectural Miniature Model Making Company
Maadhu Creatives is a leading scale & miniature model making company creating the best models for every industry. At Maadhu Creatives, we have carved a niche for ourselves as the most trusted model-making solution provider across the world. With a passionate team dedicated to detailing and excellence, We design and build the models as per our clients’ requirements and help them envision the model of their dreams.
READ MORE
Maadhu Creatives Advantage
Maadhu Creatives delivers innovative 3D miniatures with skilled craftsmanship and a client-first focus. We offer 3D walkthroughs, cut sections, and detailed scale models with strong quality.

Best Prices

Unbiased Advice

100% Trustworthy

Innovative Technology

Glad to help
Our Services
Our scale and miniature model makers can build any model you need. We use strong materials and skilled work to create accurate, realistic architectural miniatures. We also keep pricing fair to give you good value.
Our 3D Model Making Process

Execution & Drawing Edit

Laser Cutting & 3D Printing

Fabrication

Electrical Installation

Finishing and Printing

Final Assembly
Our Clients
Hear from our happy clients and see their real experiences with our service and quality.
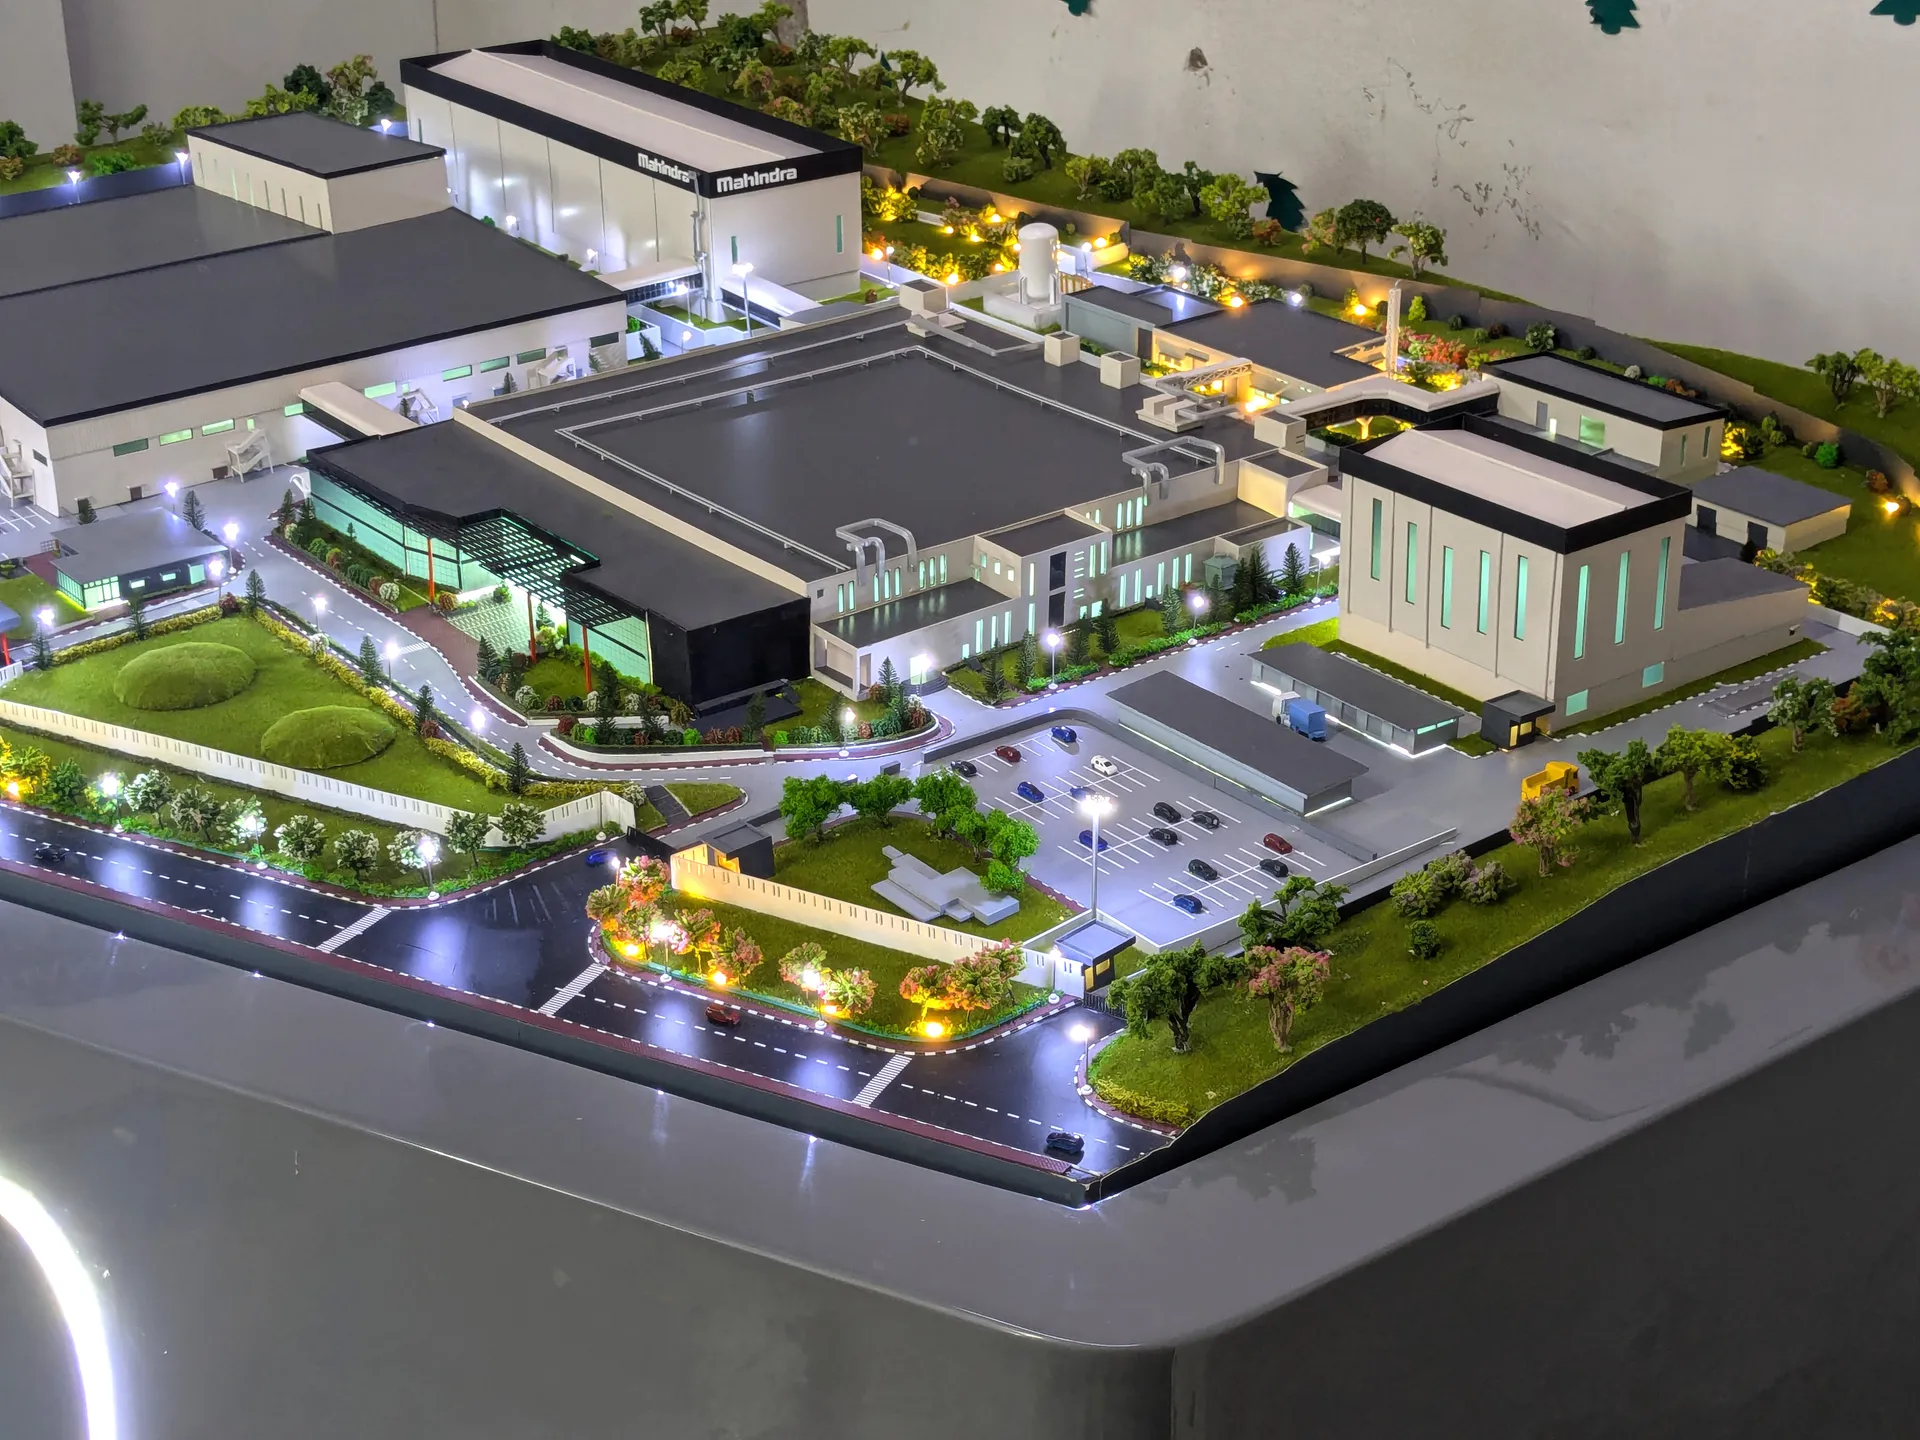
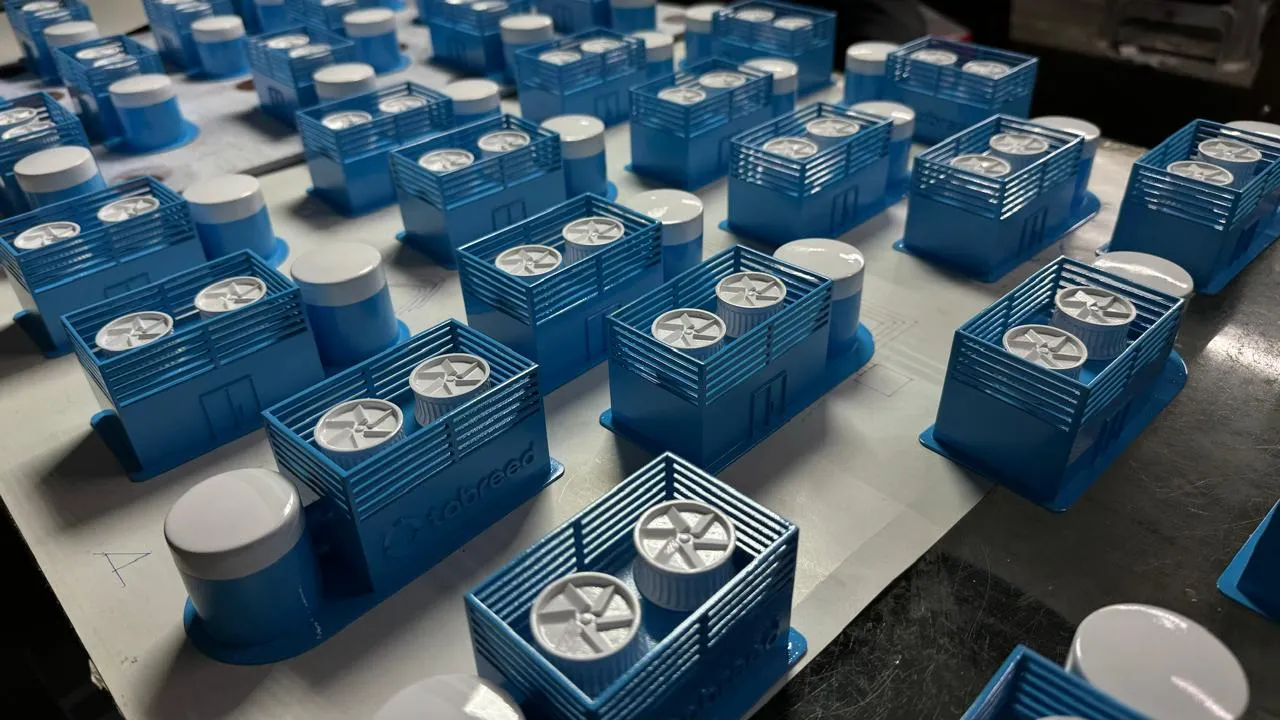
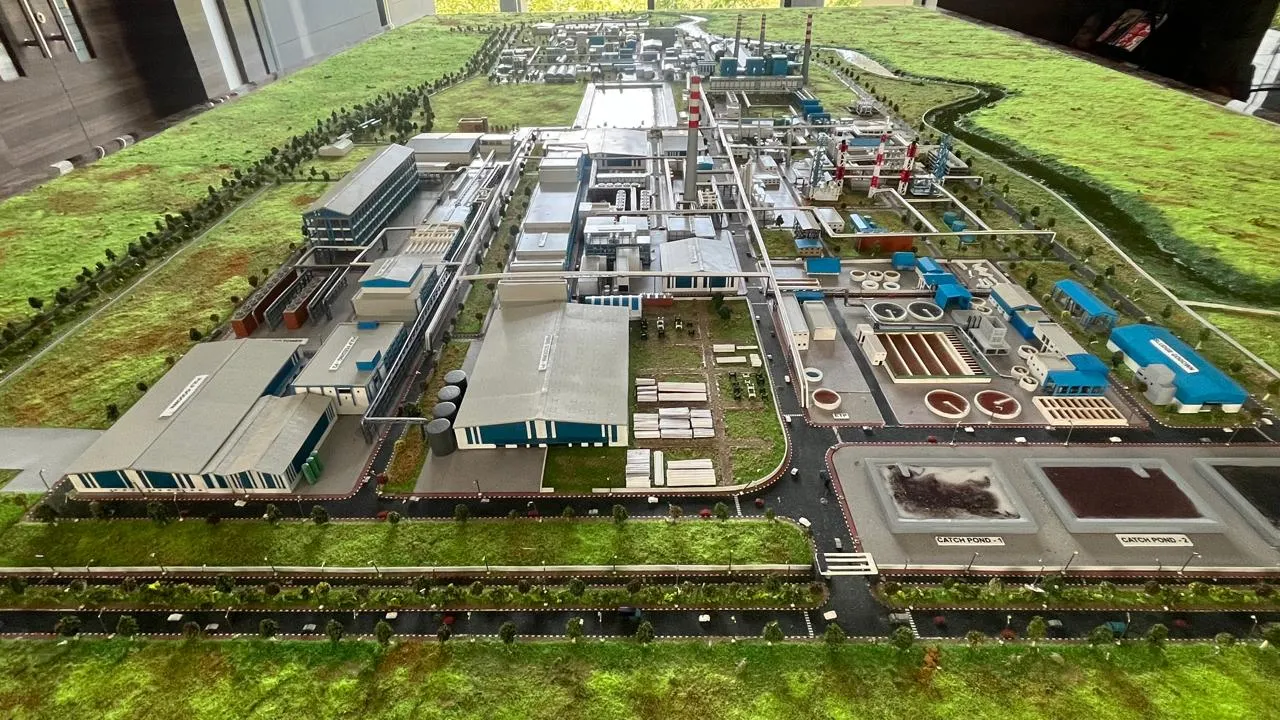
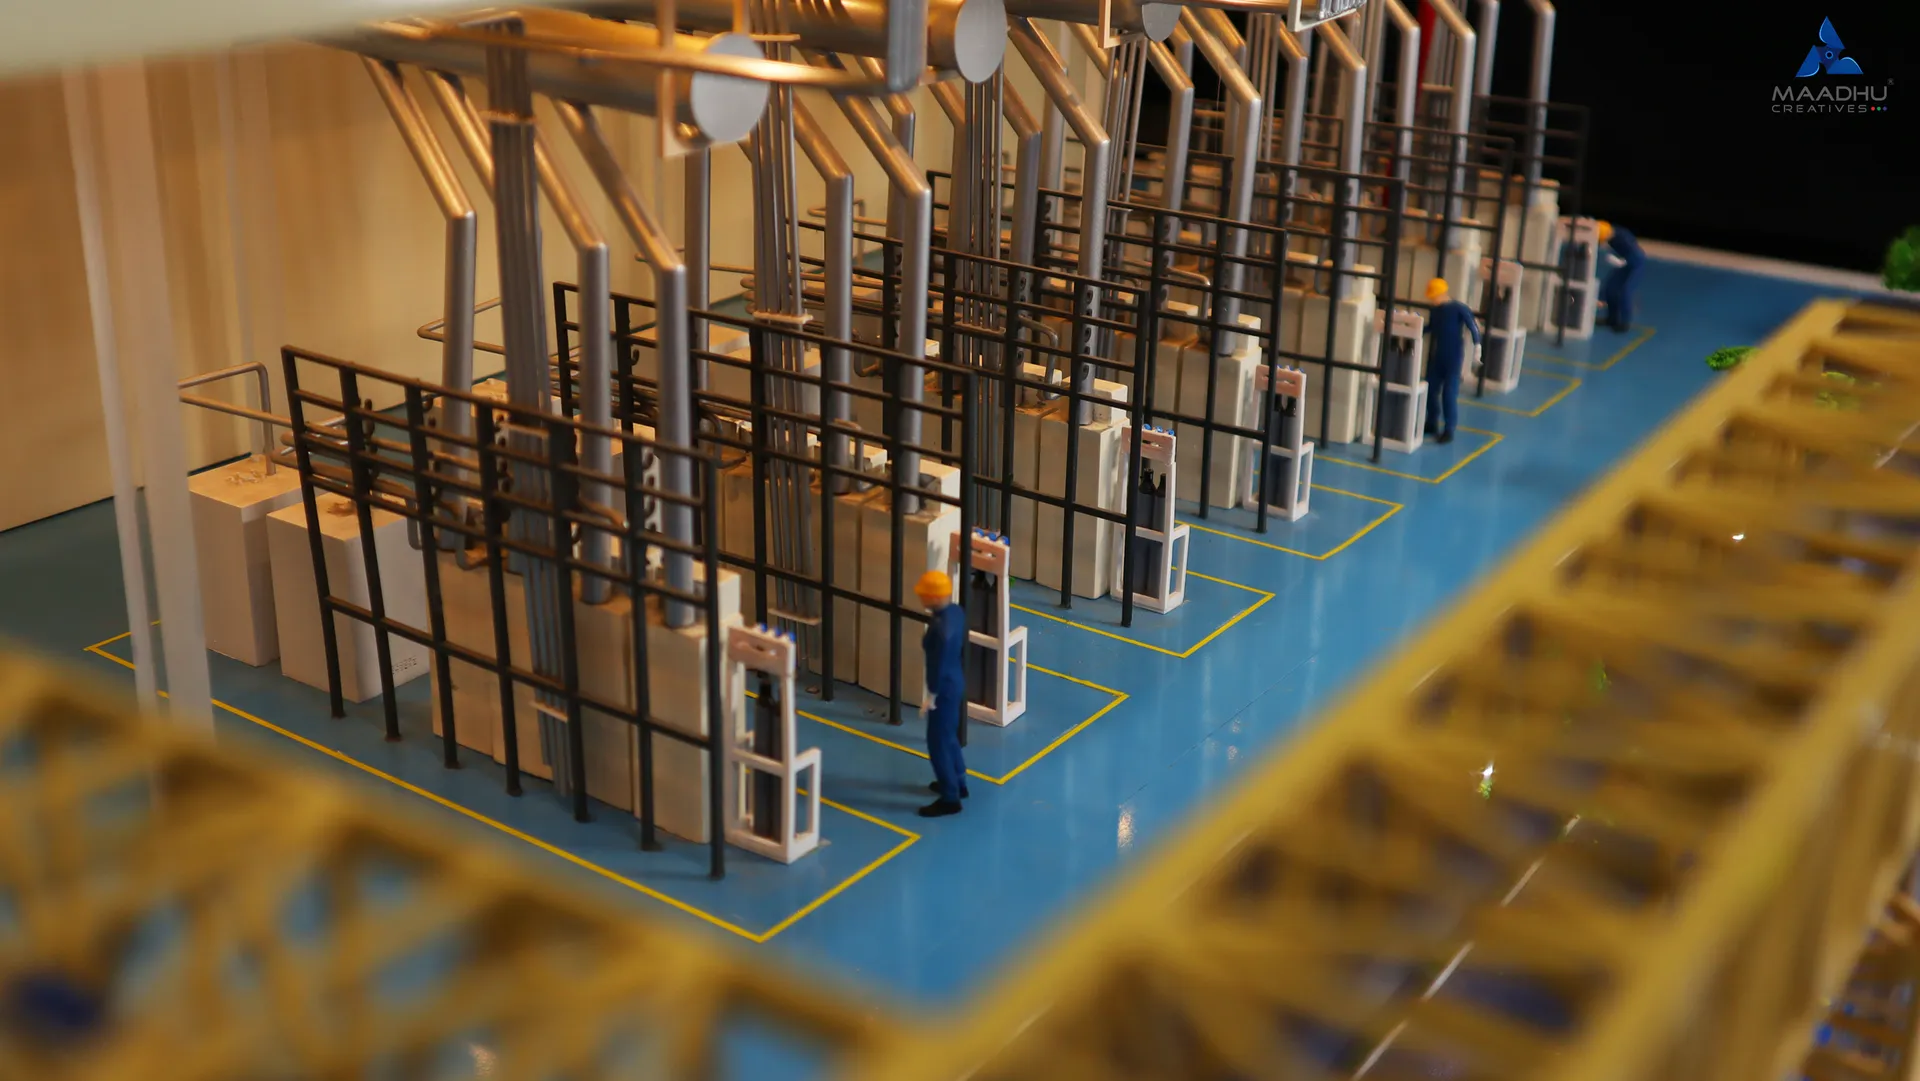
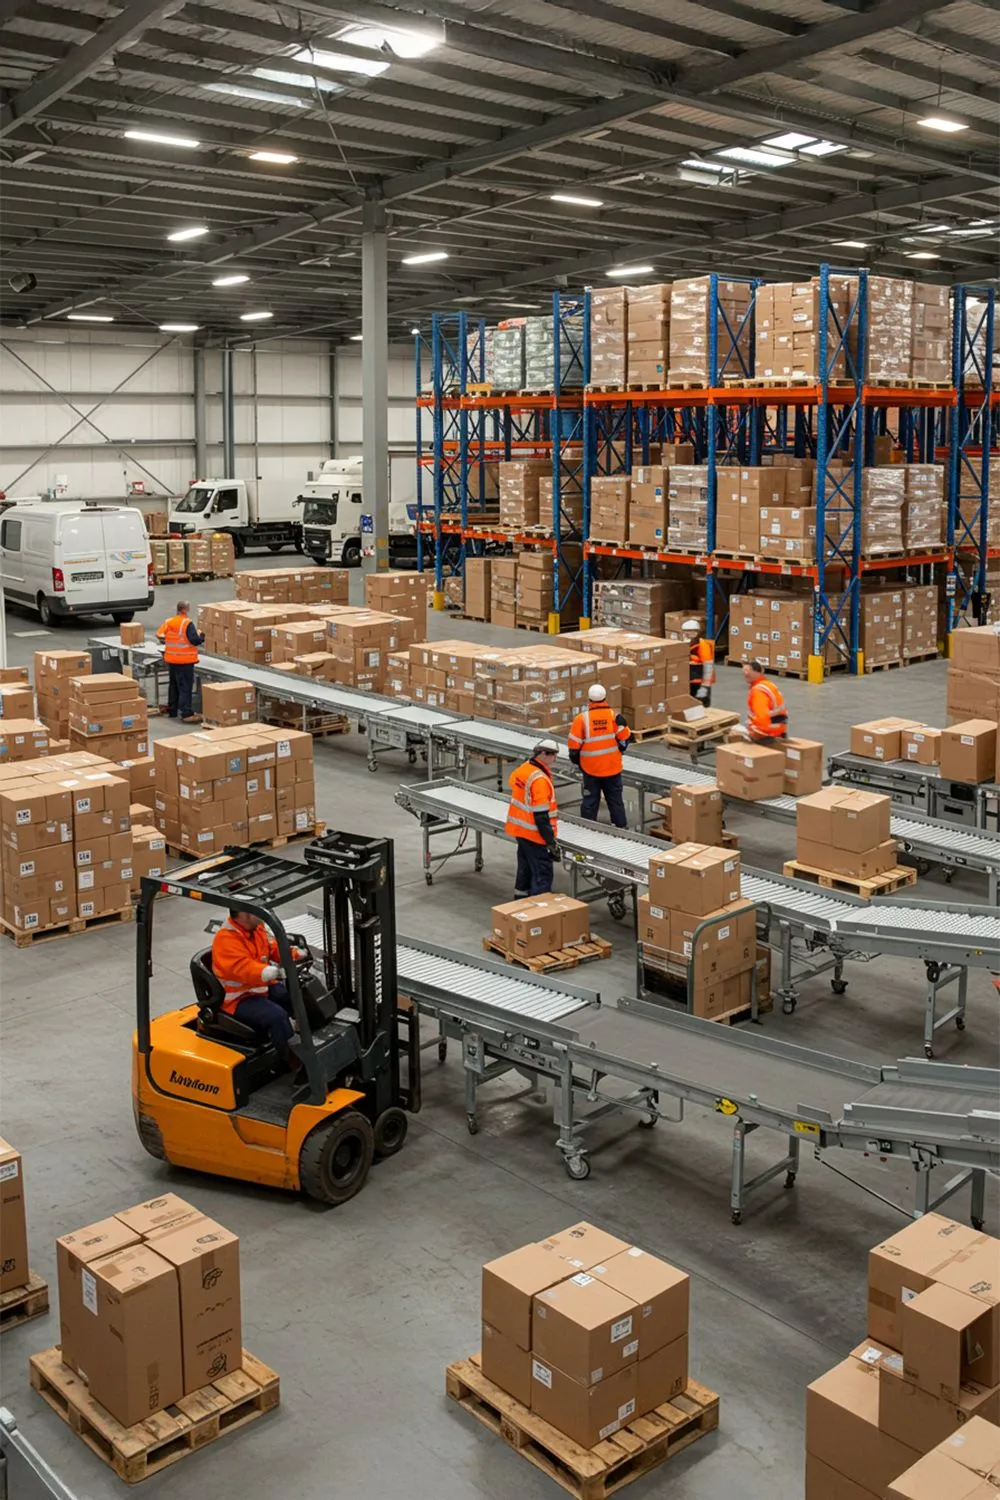
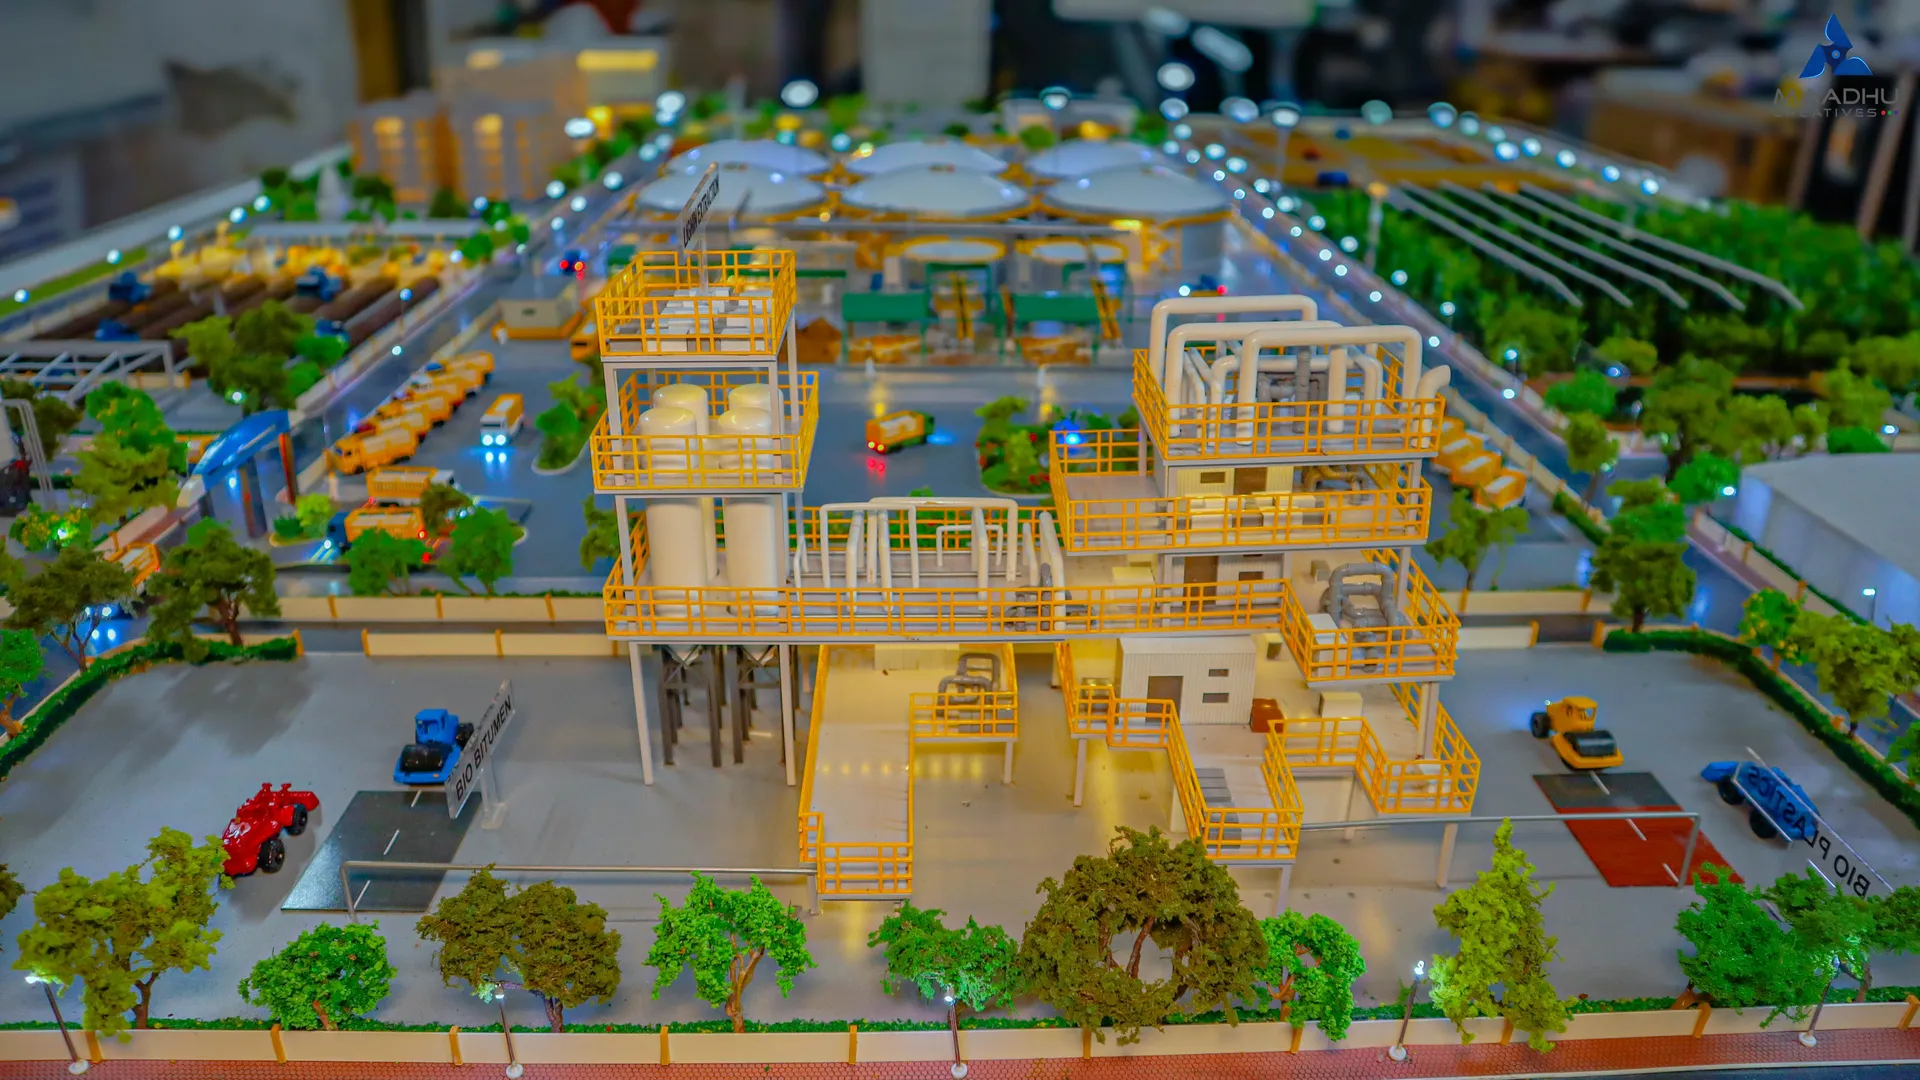
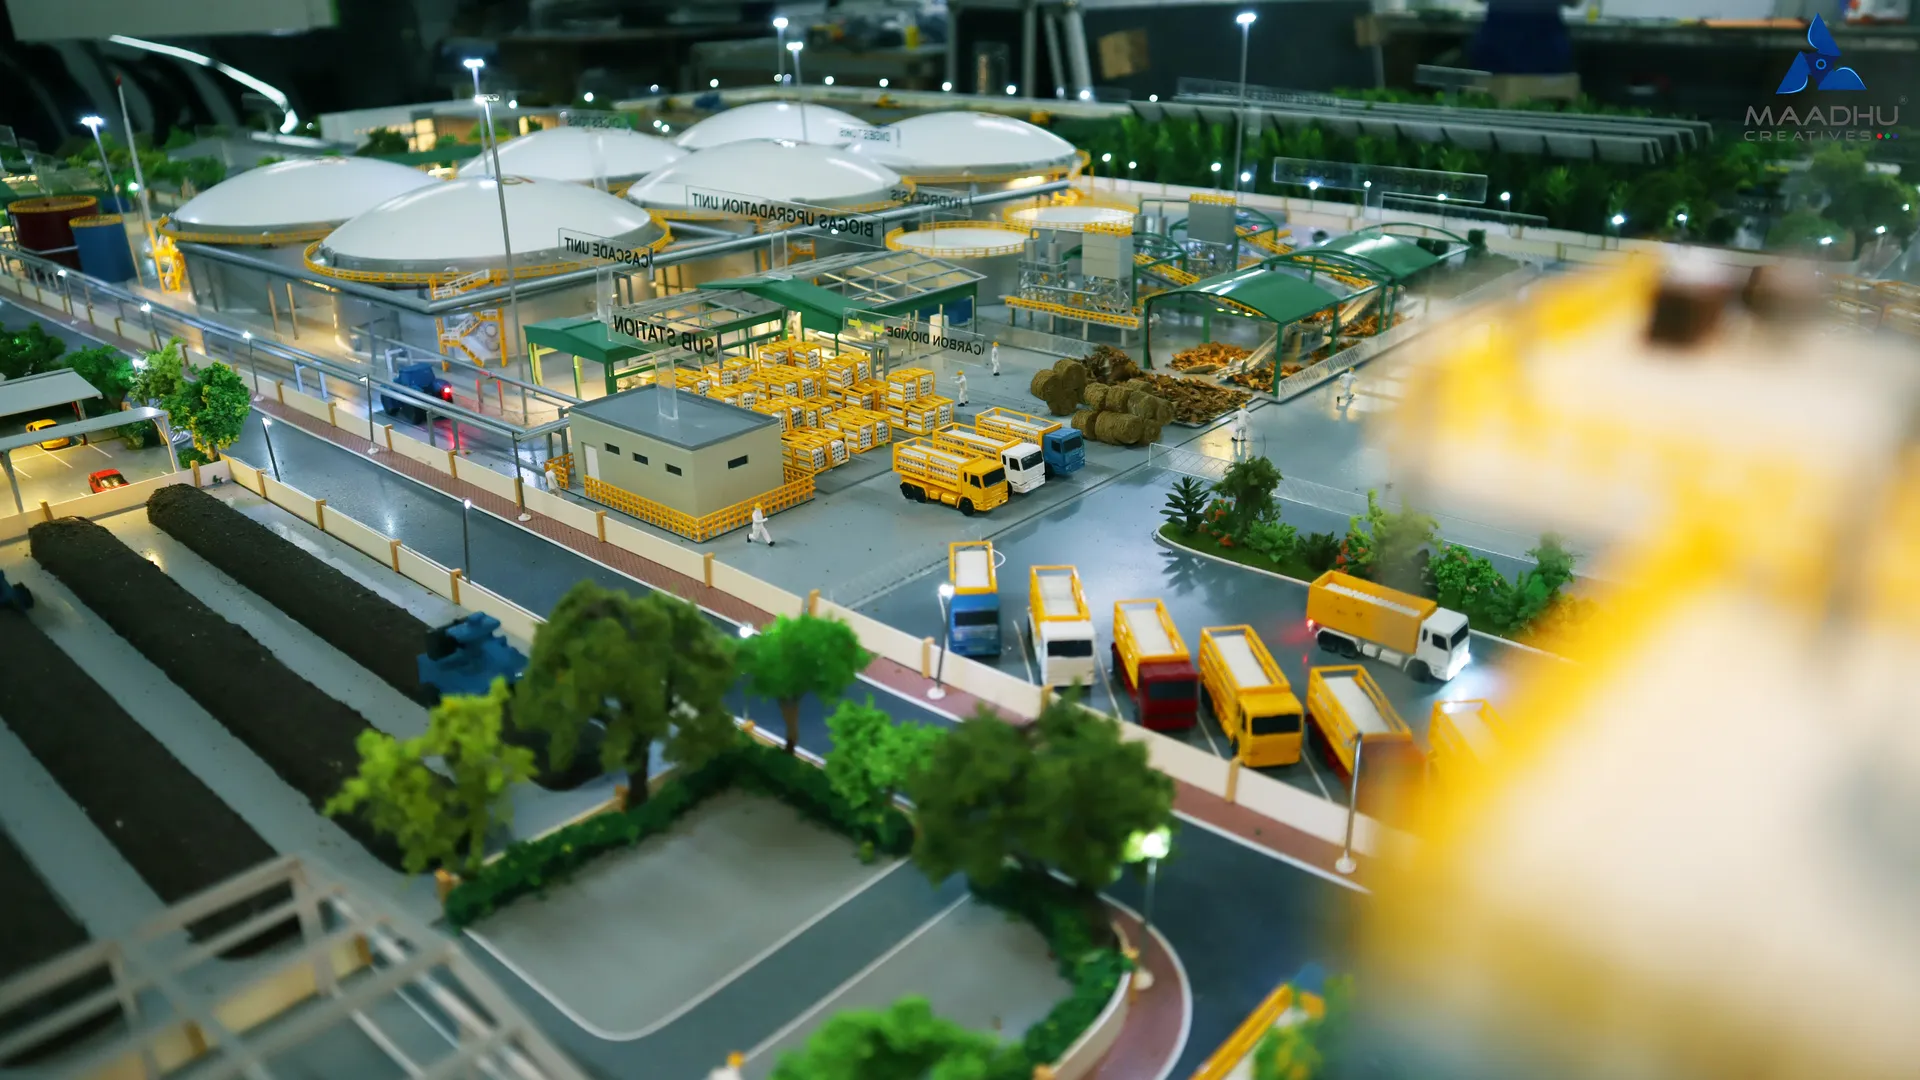
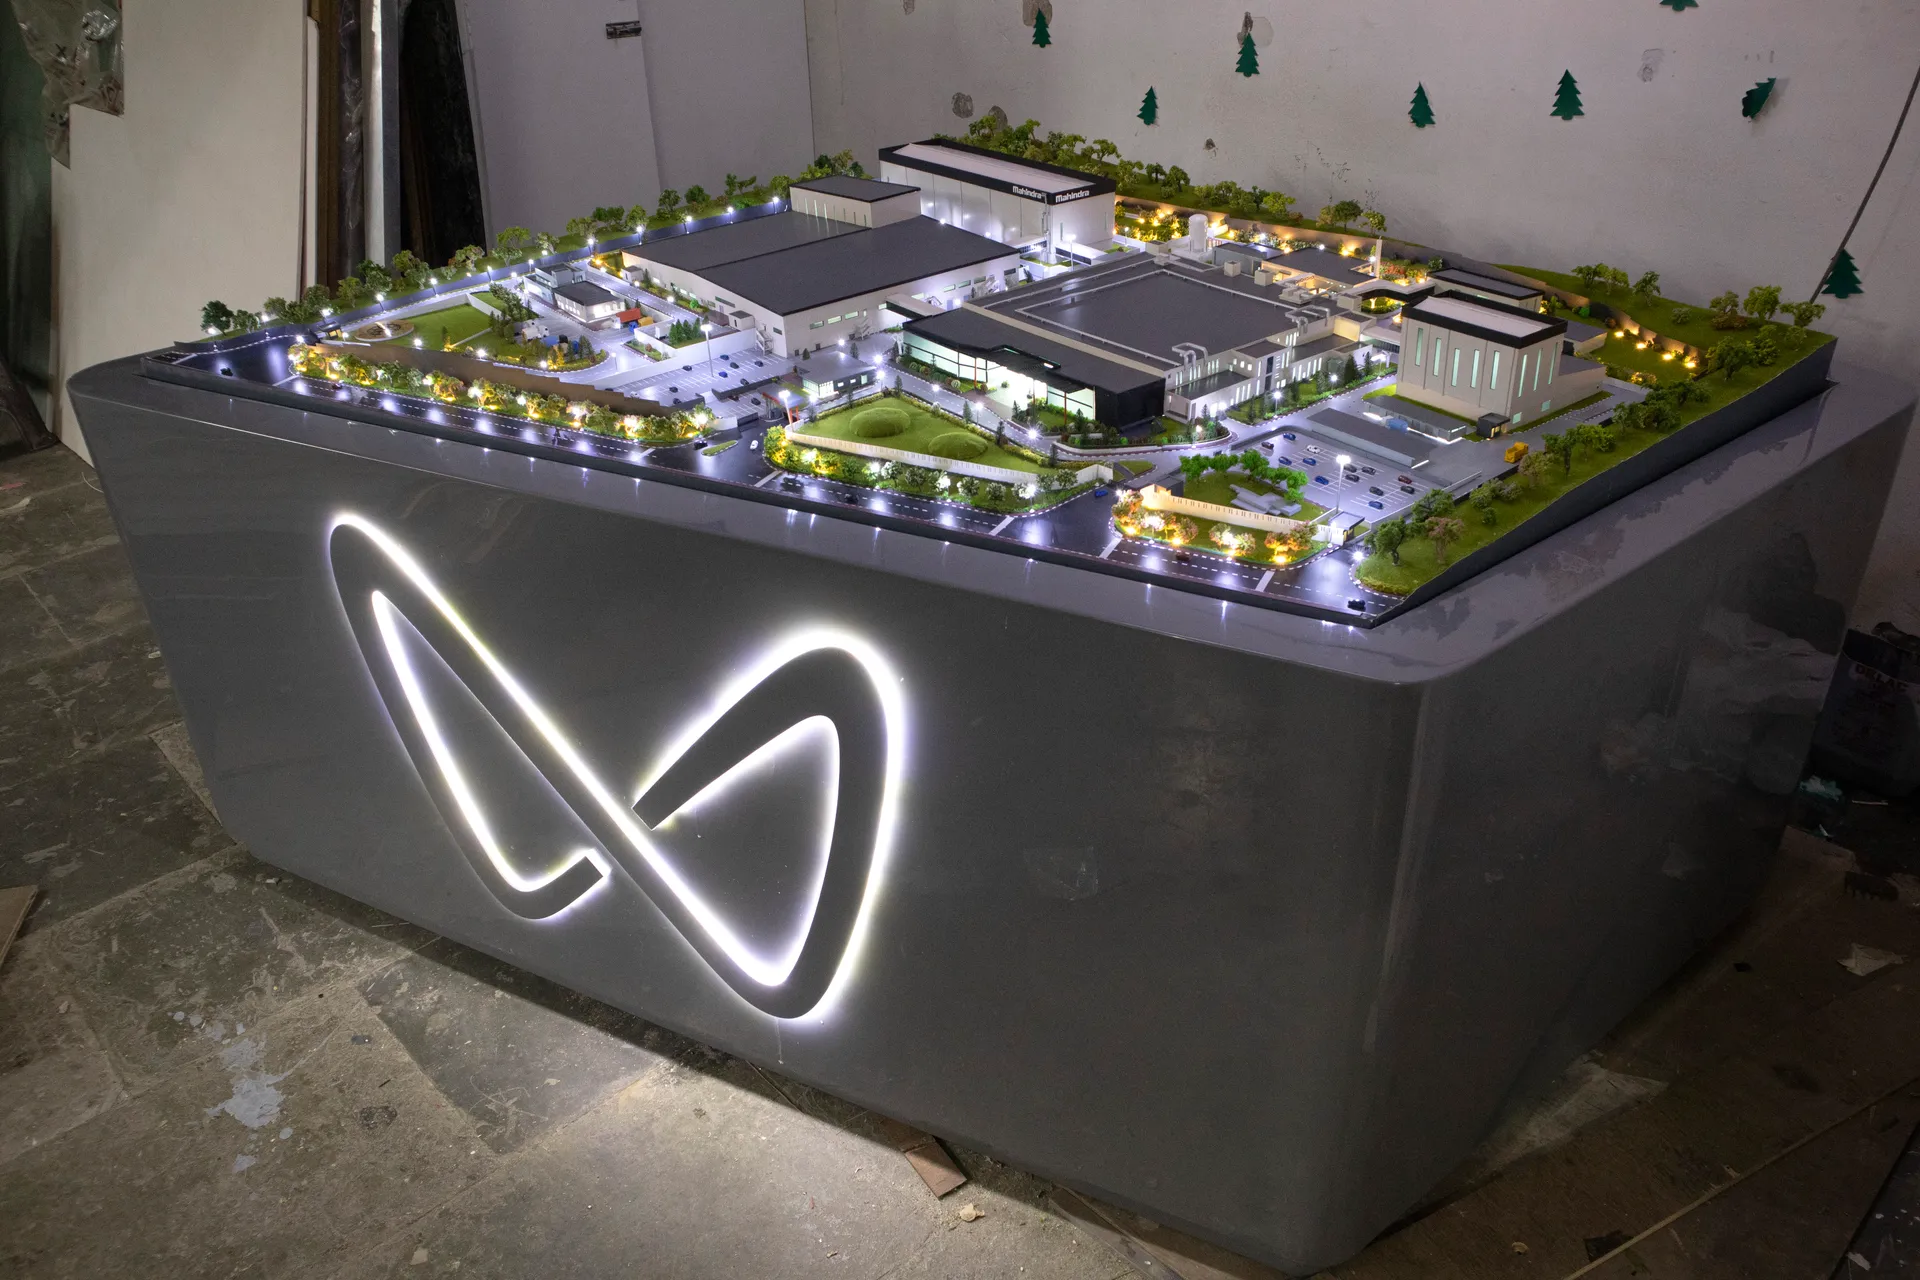
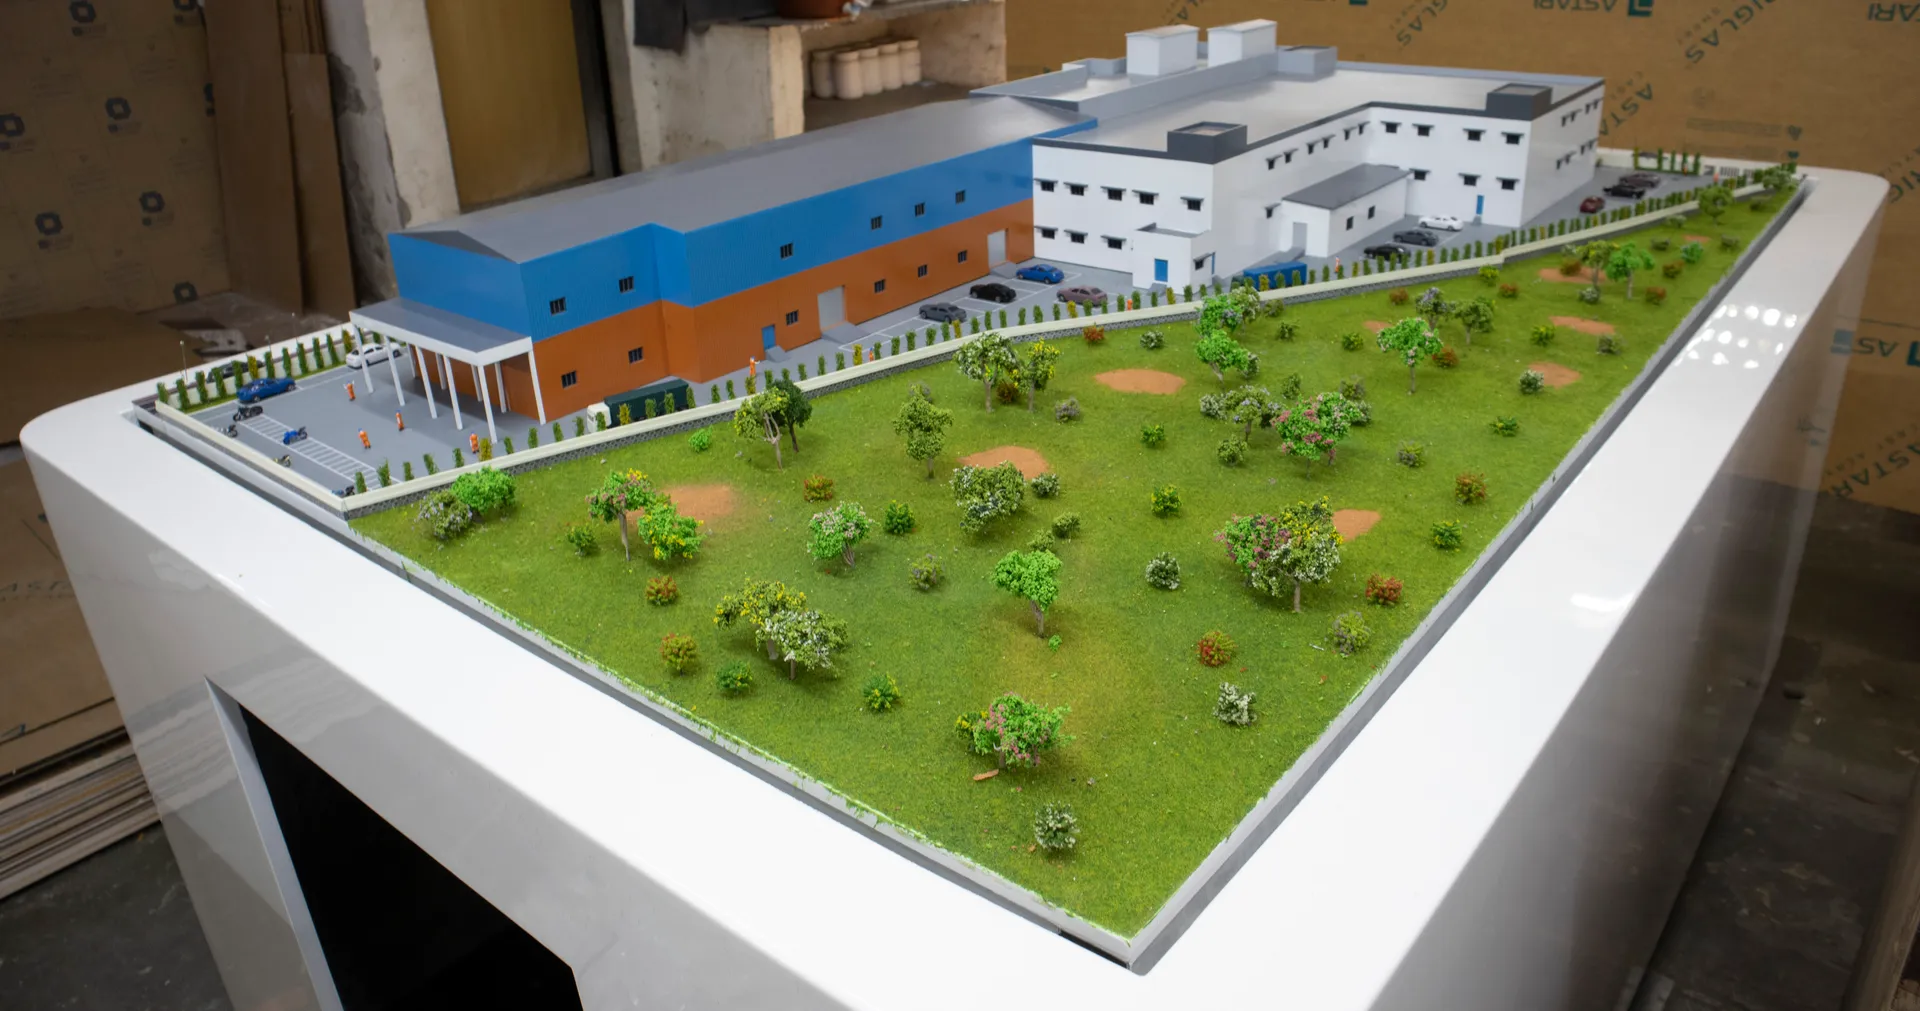
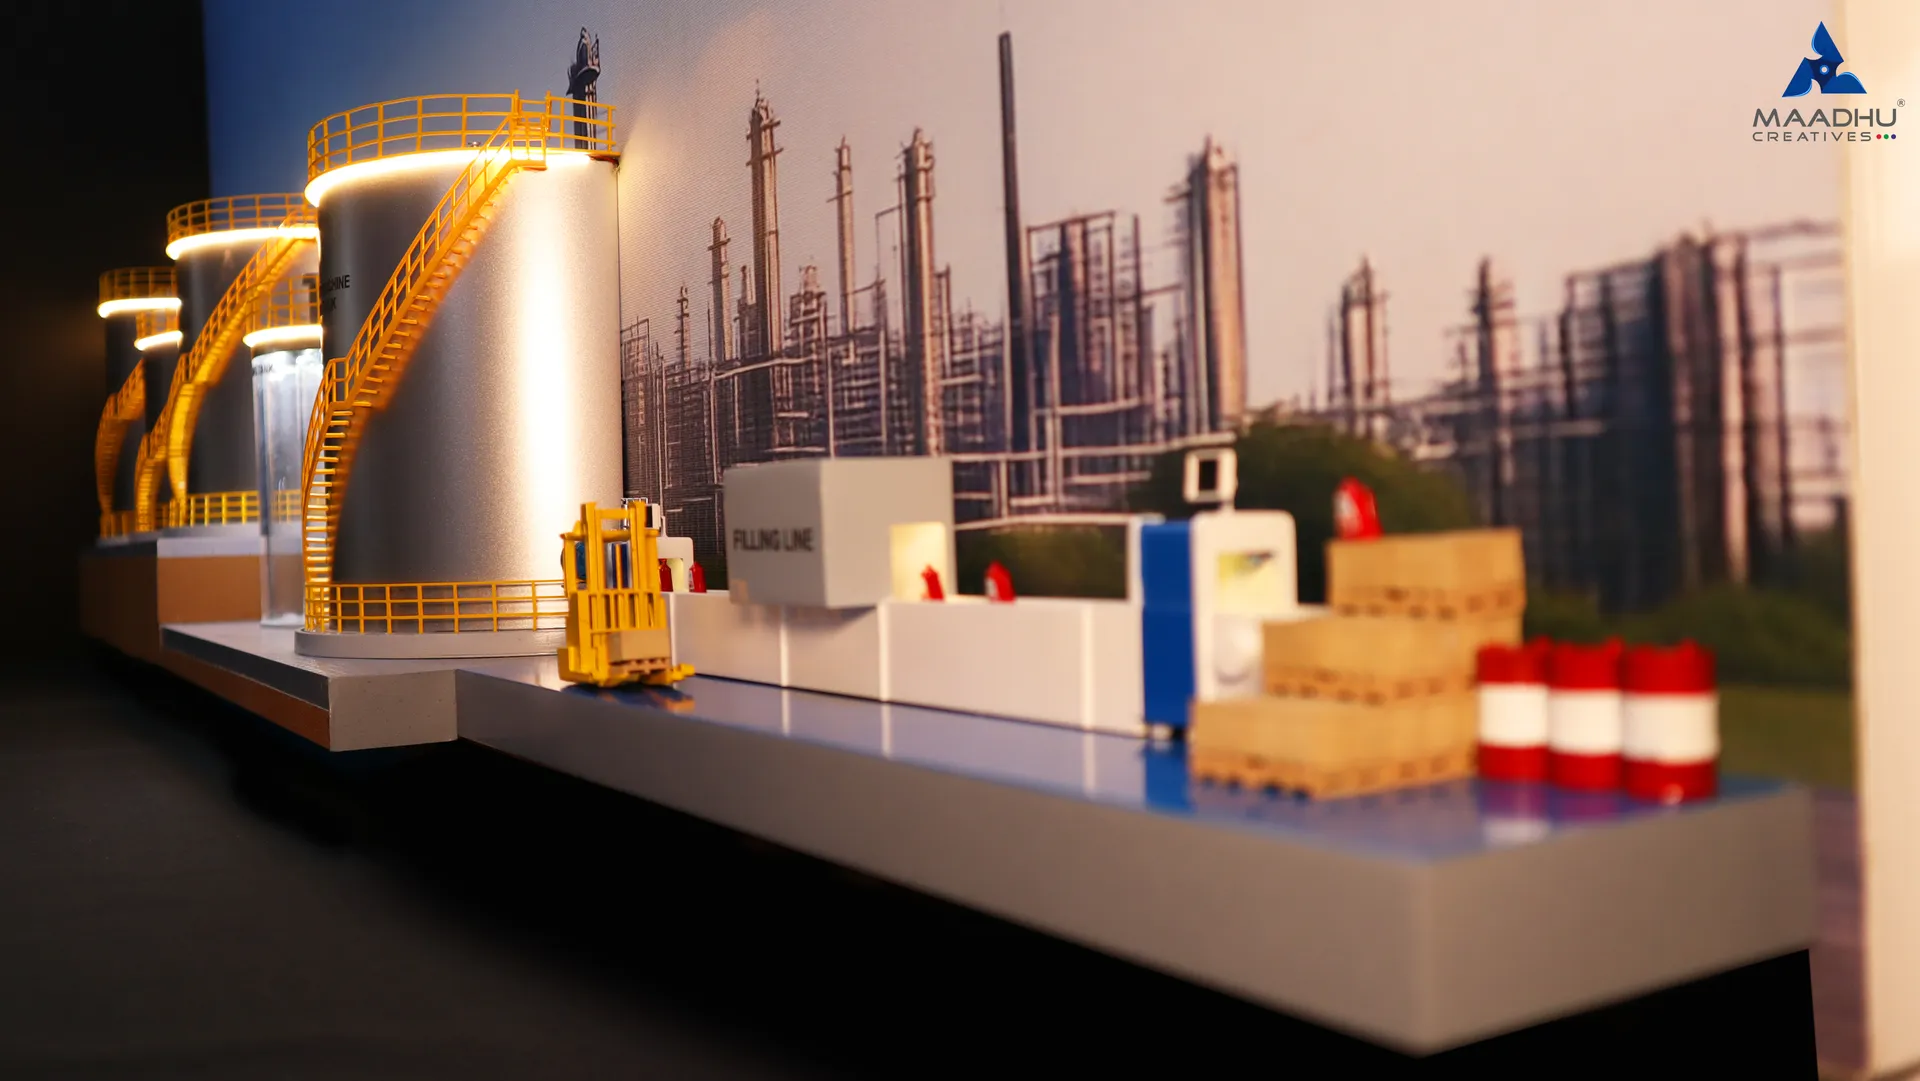
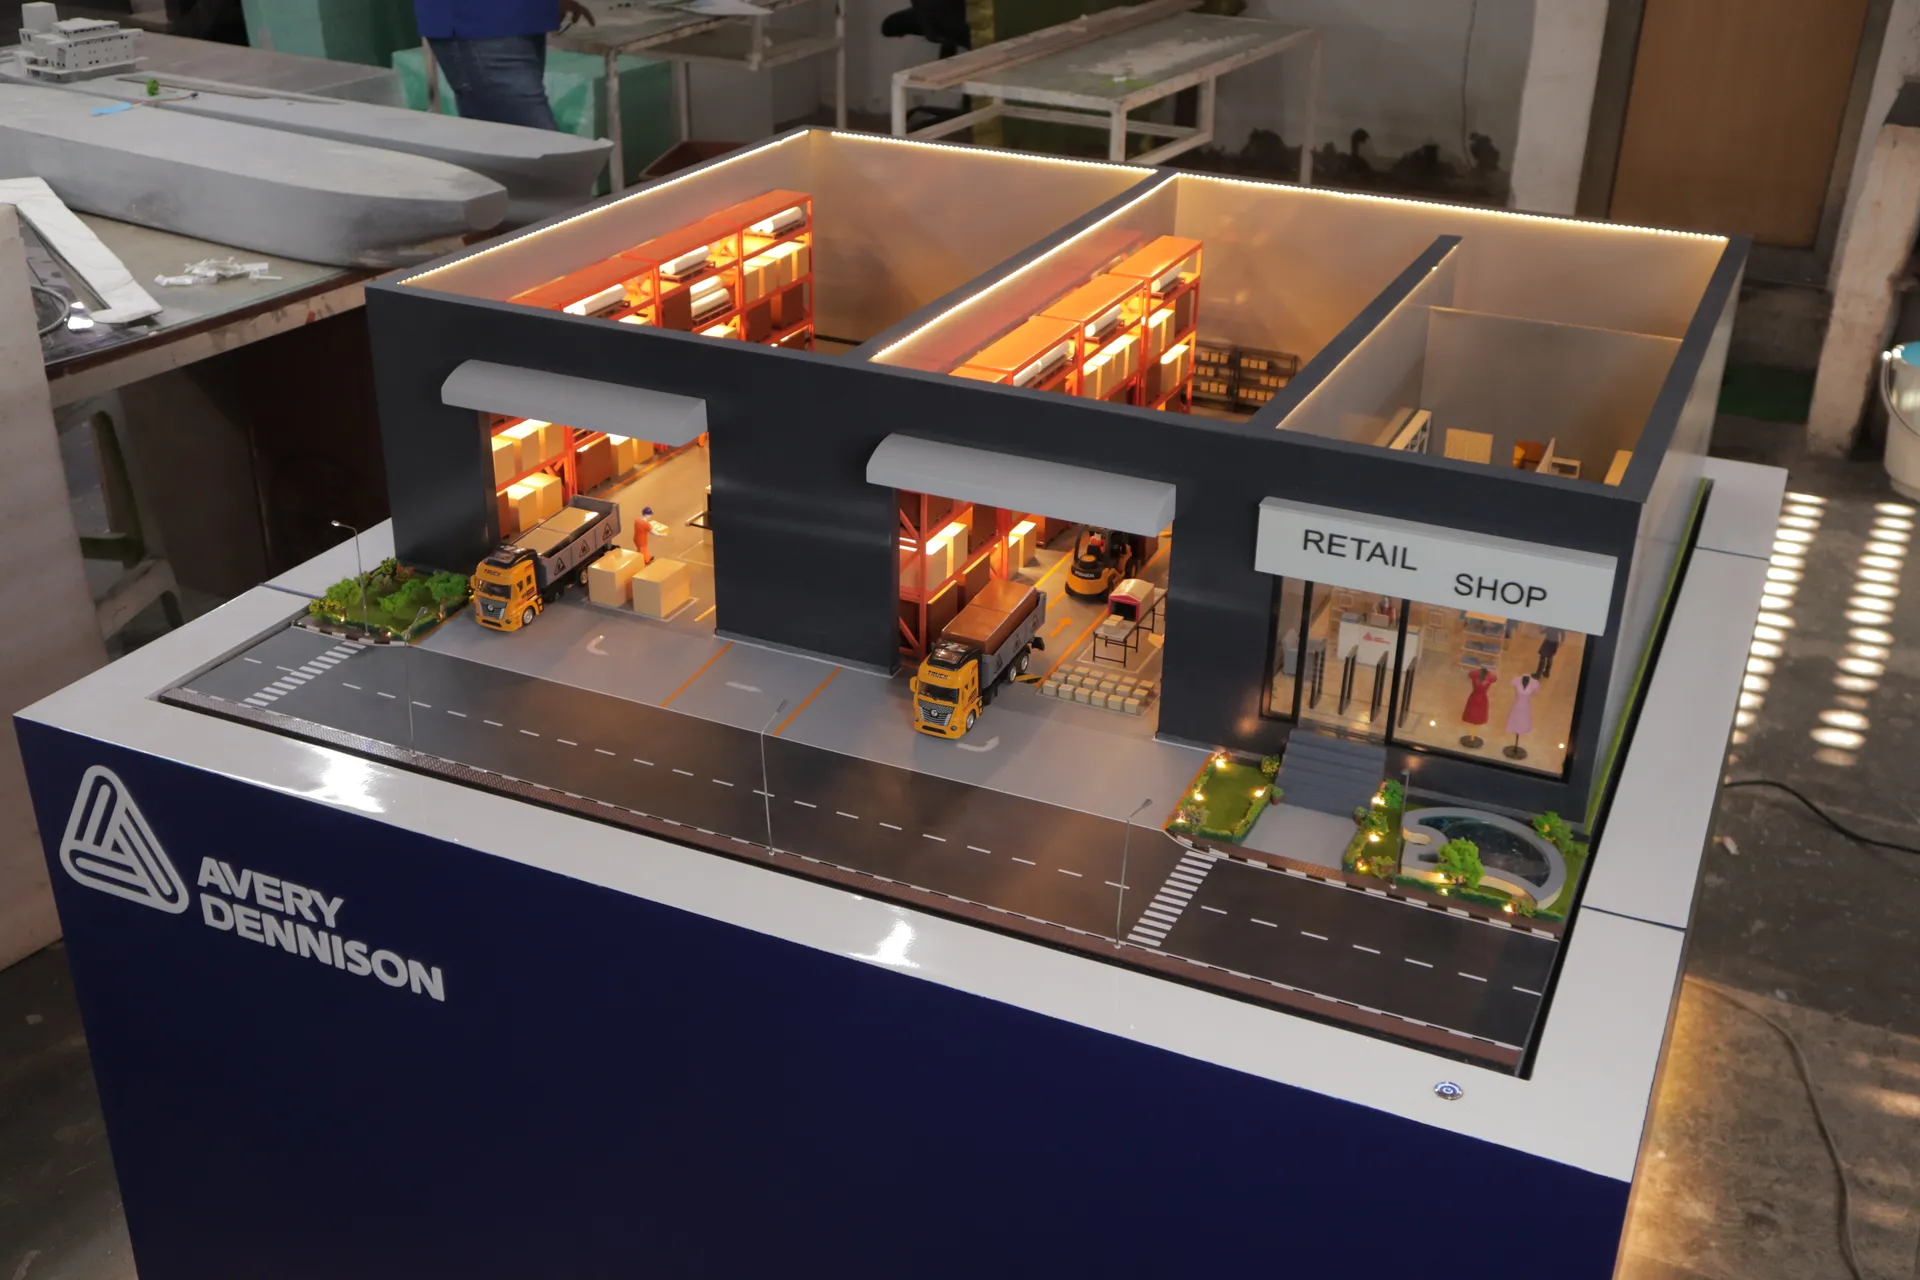
Industrial Sector


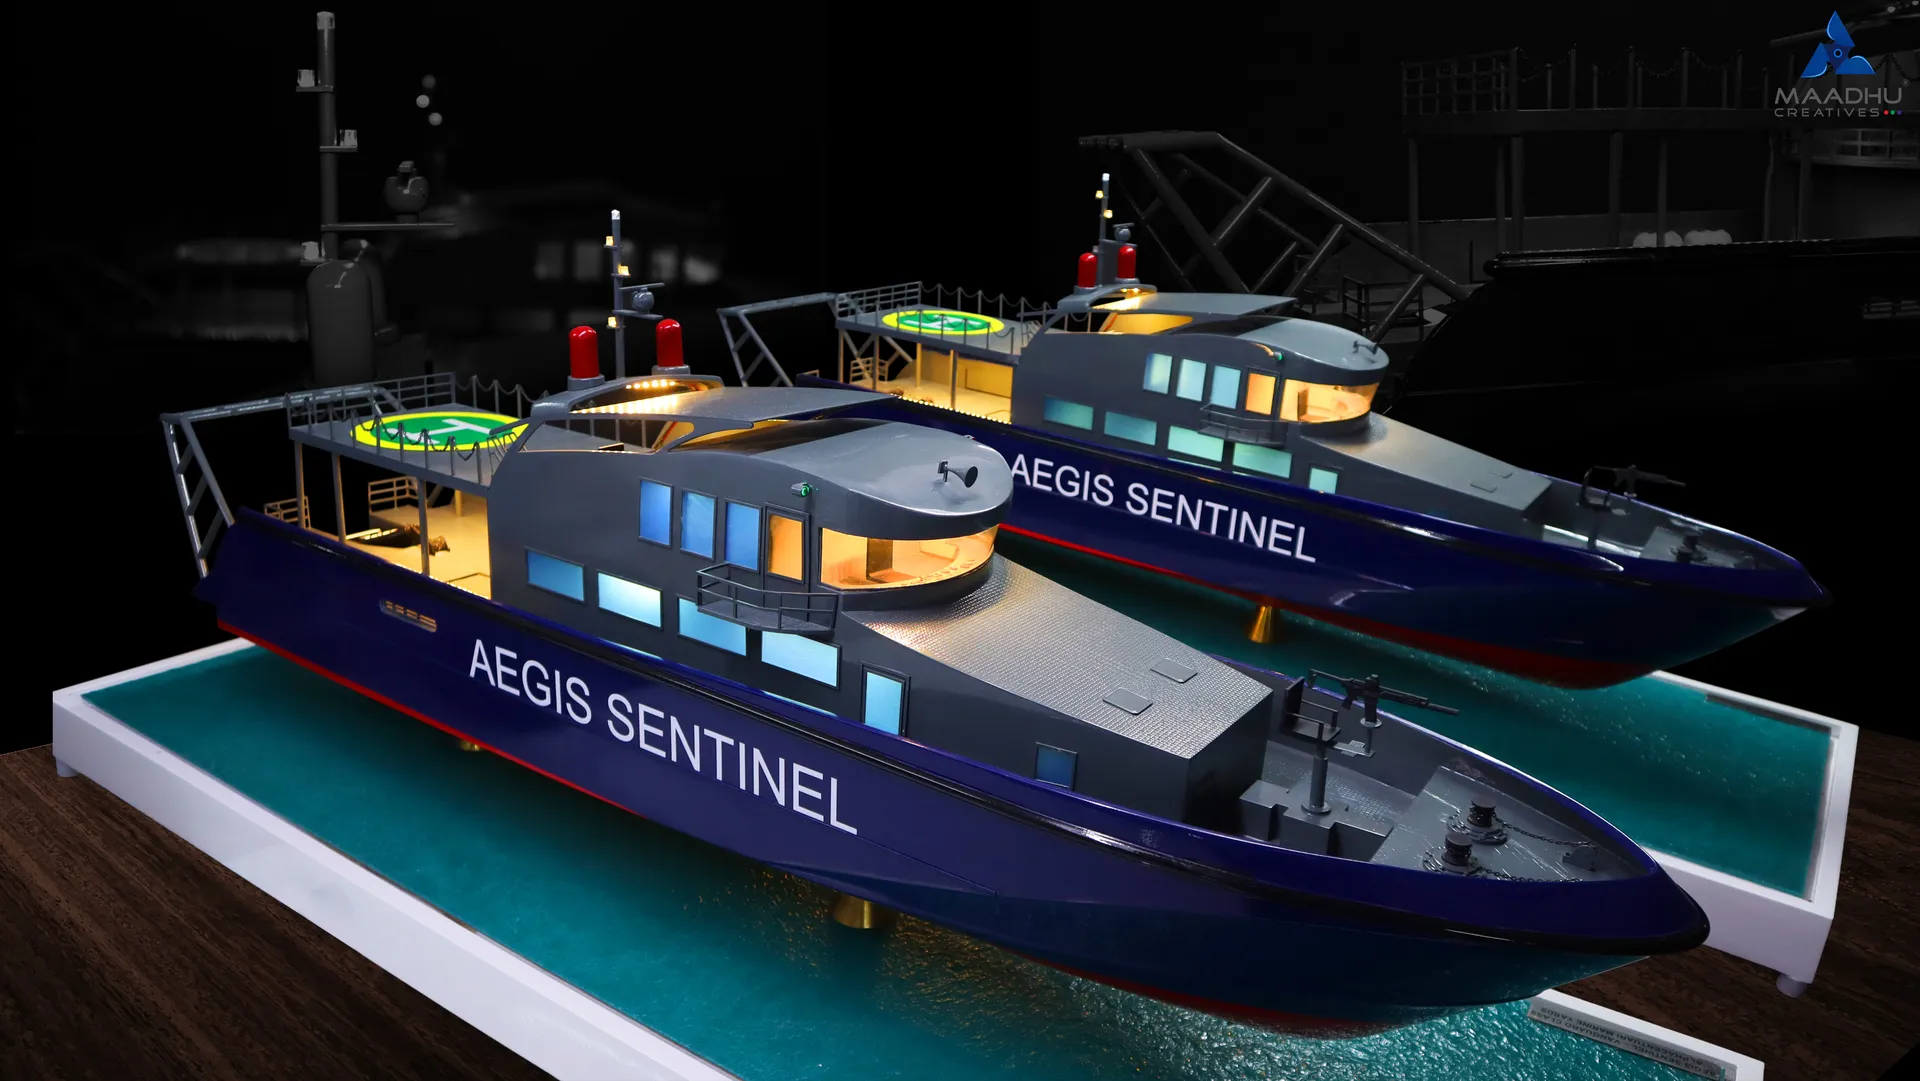
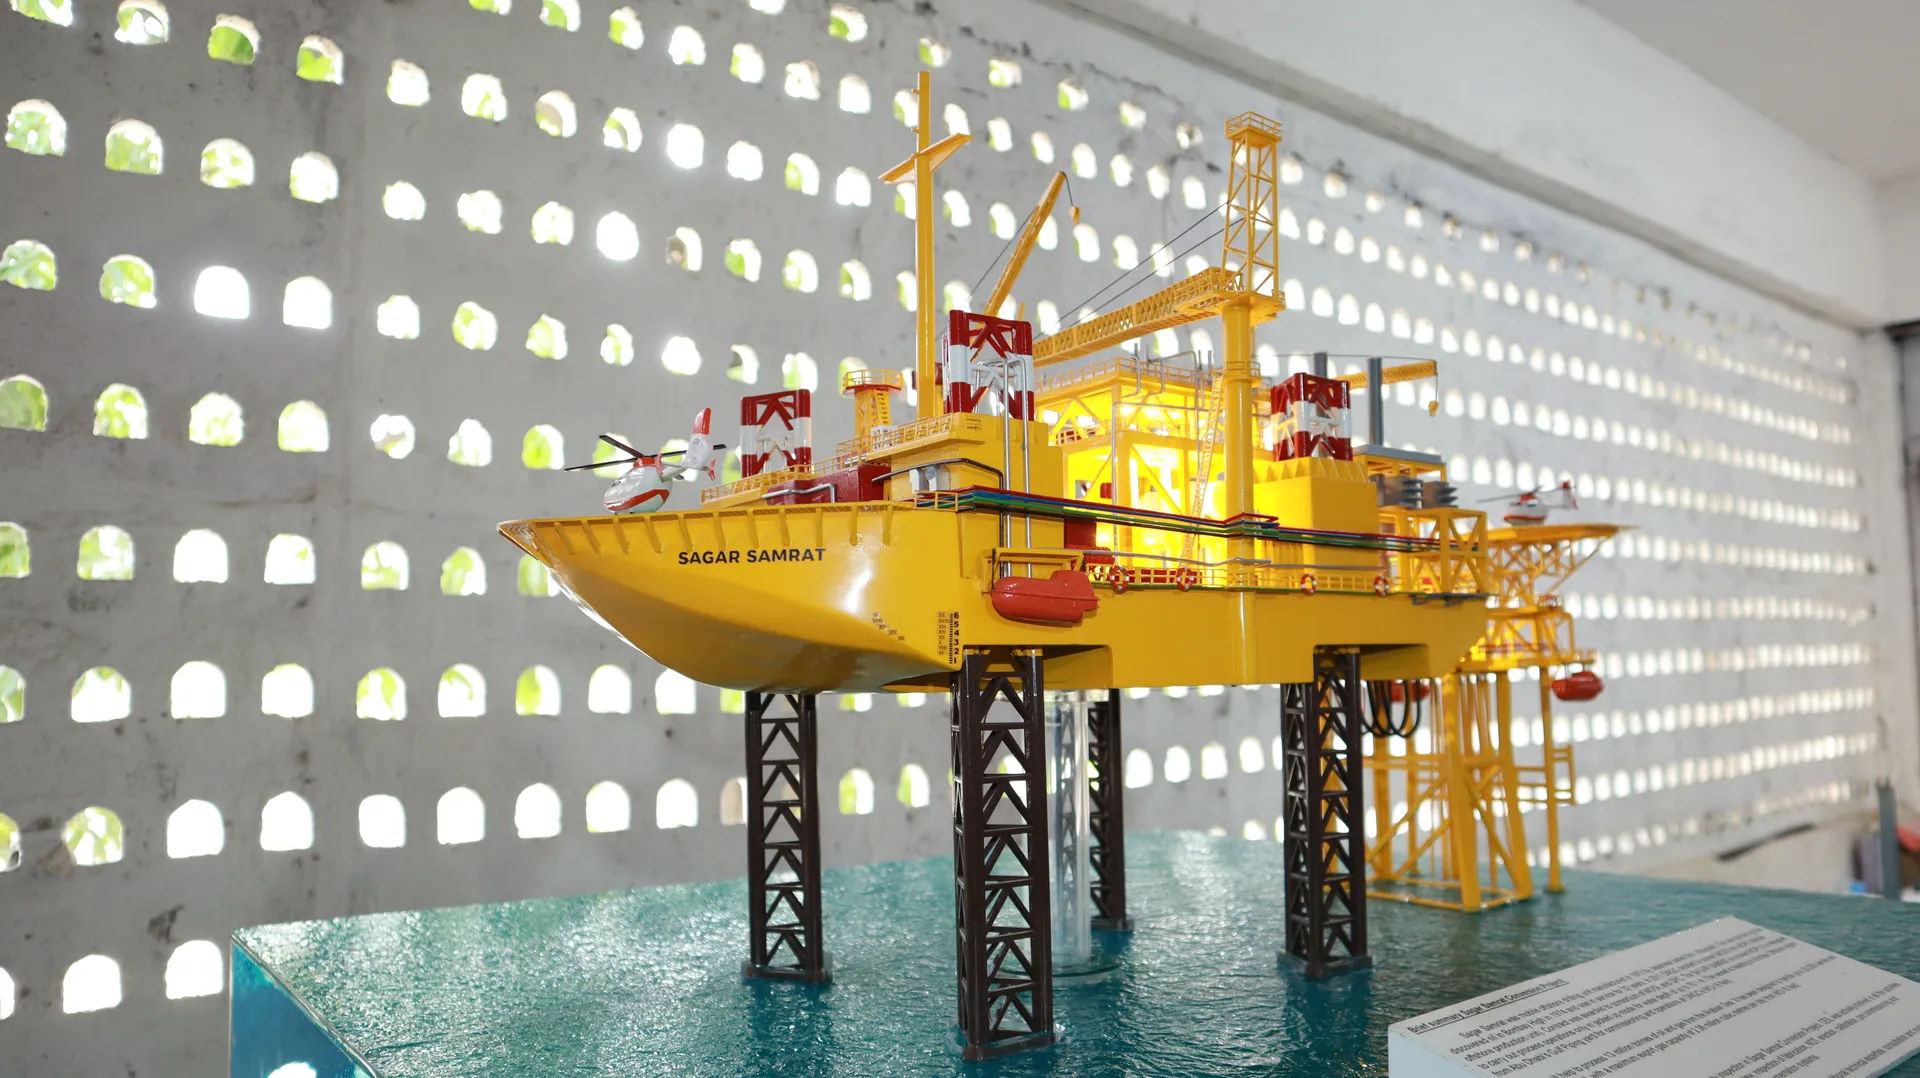
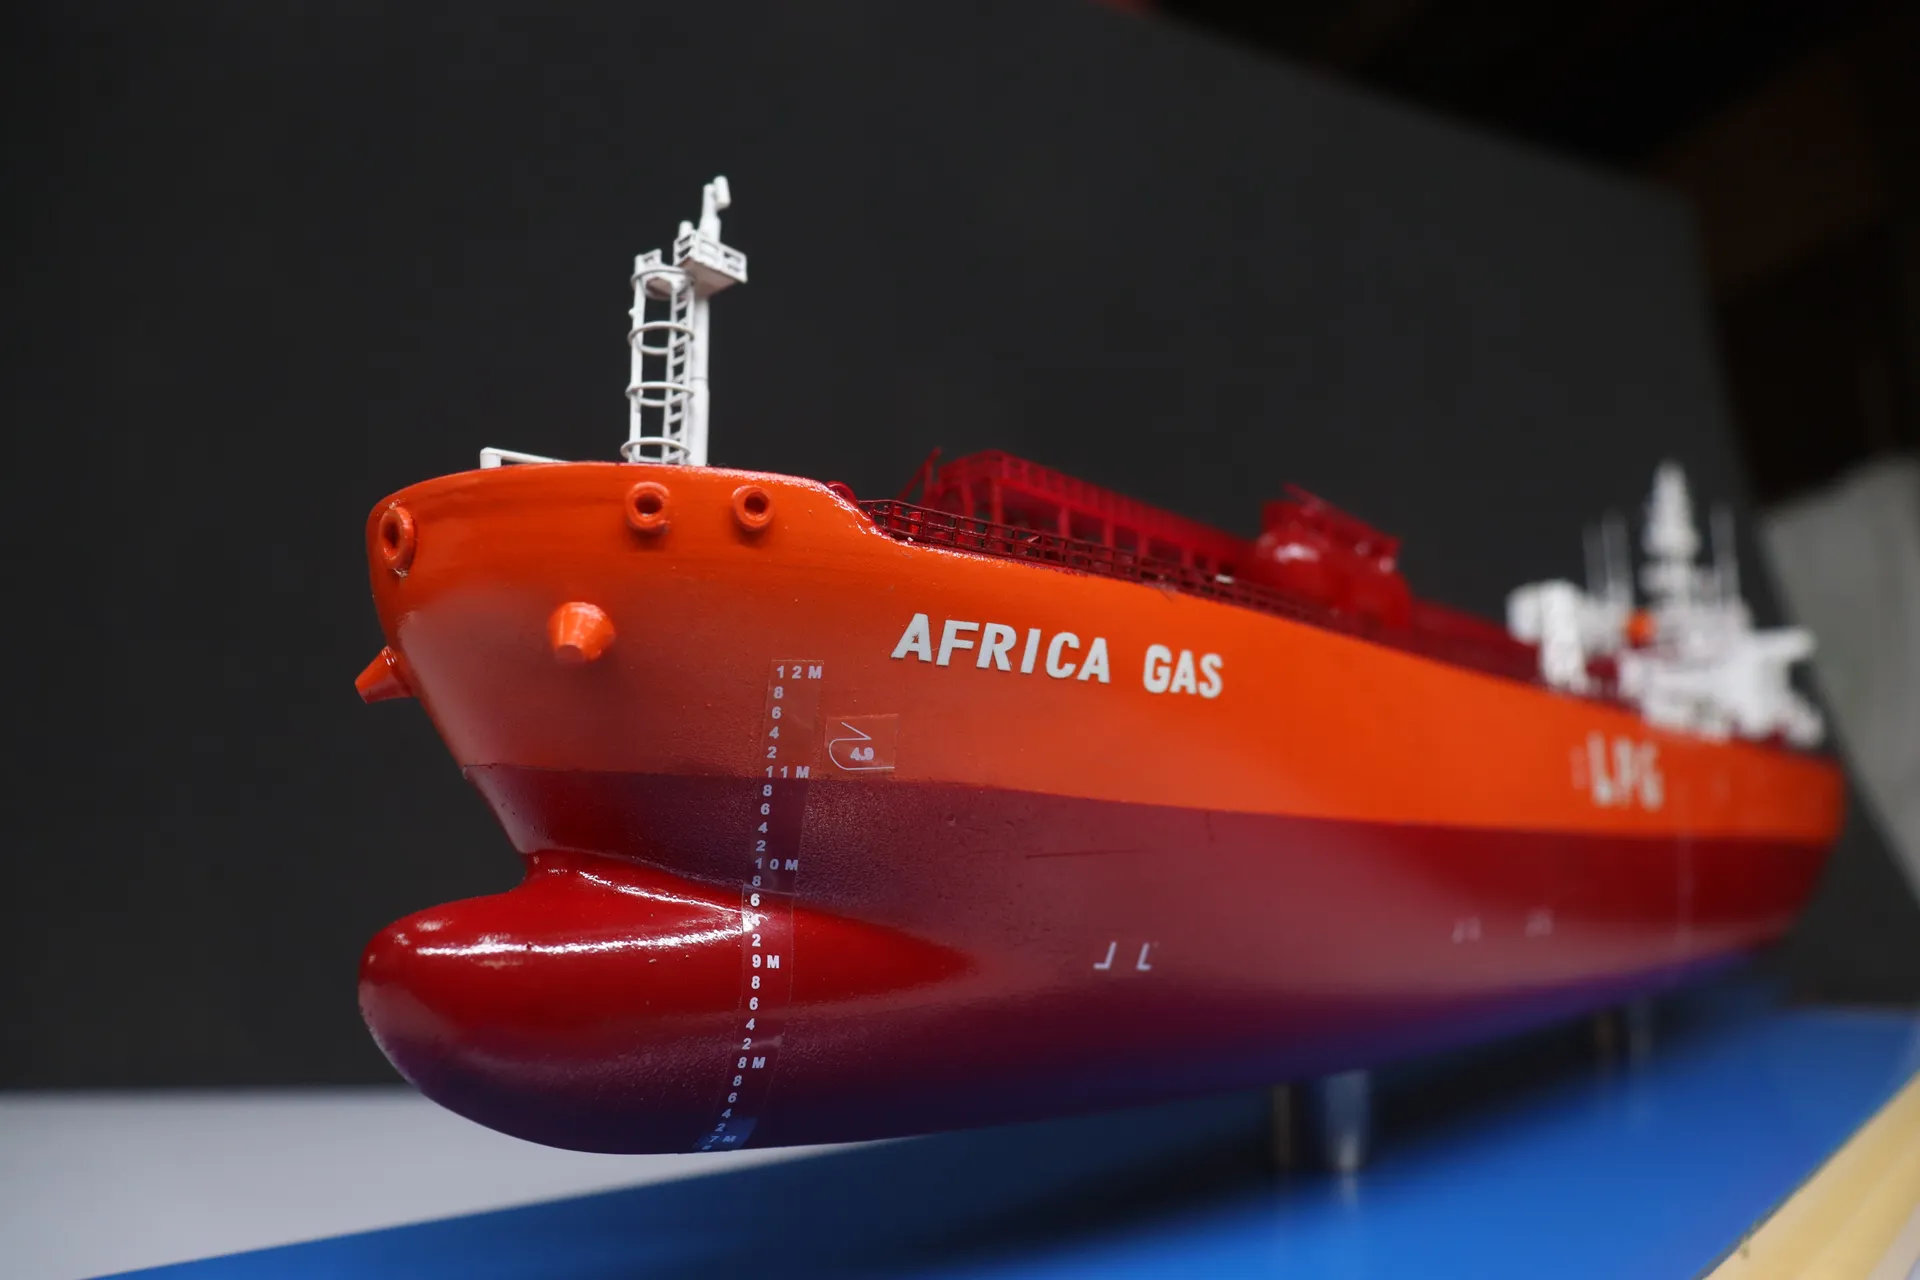
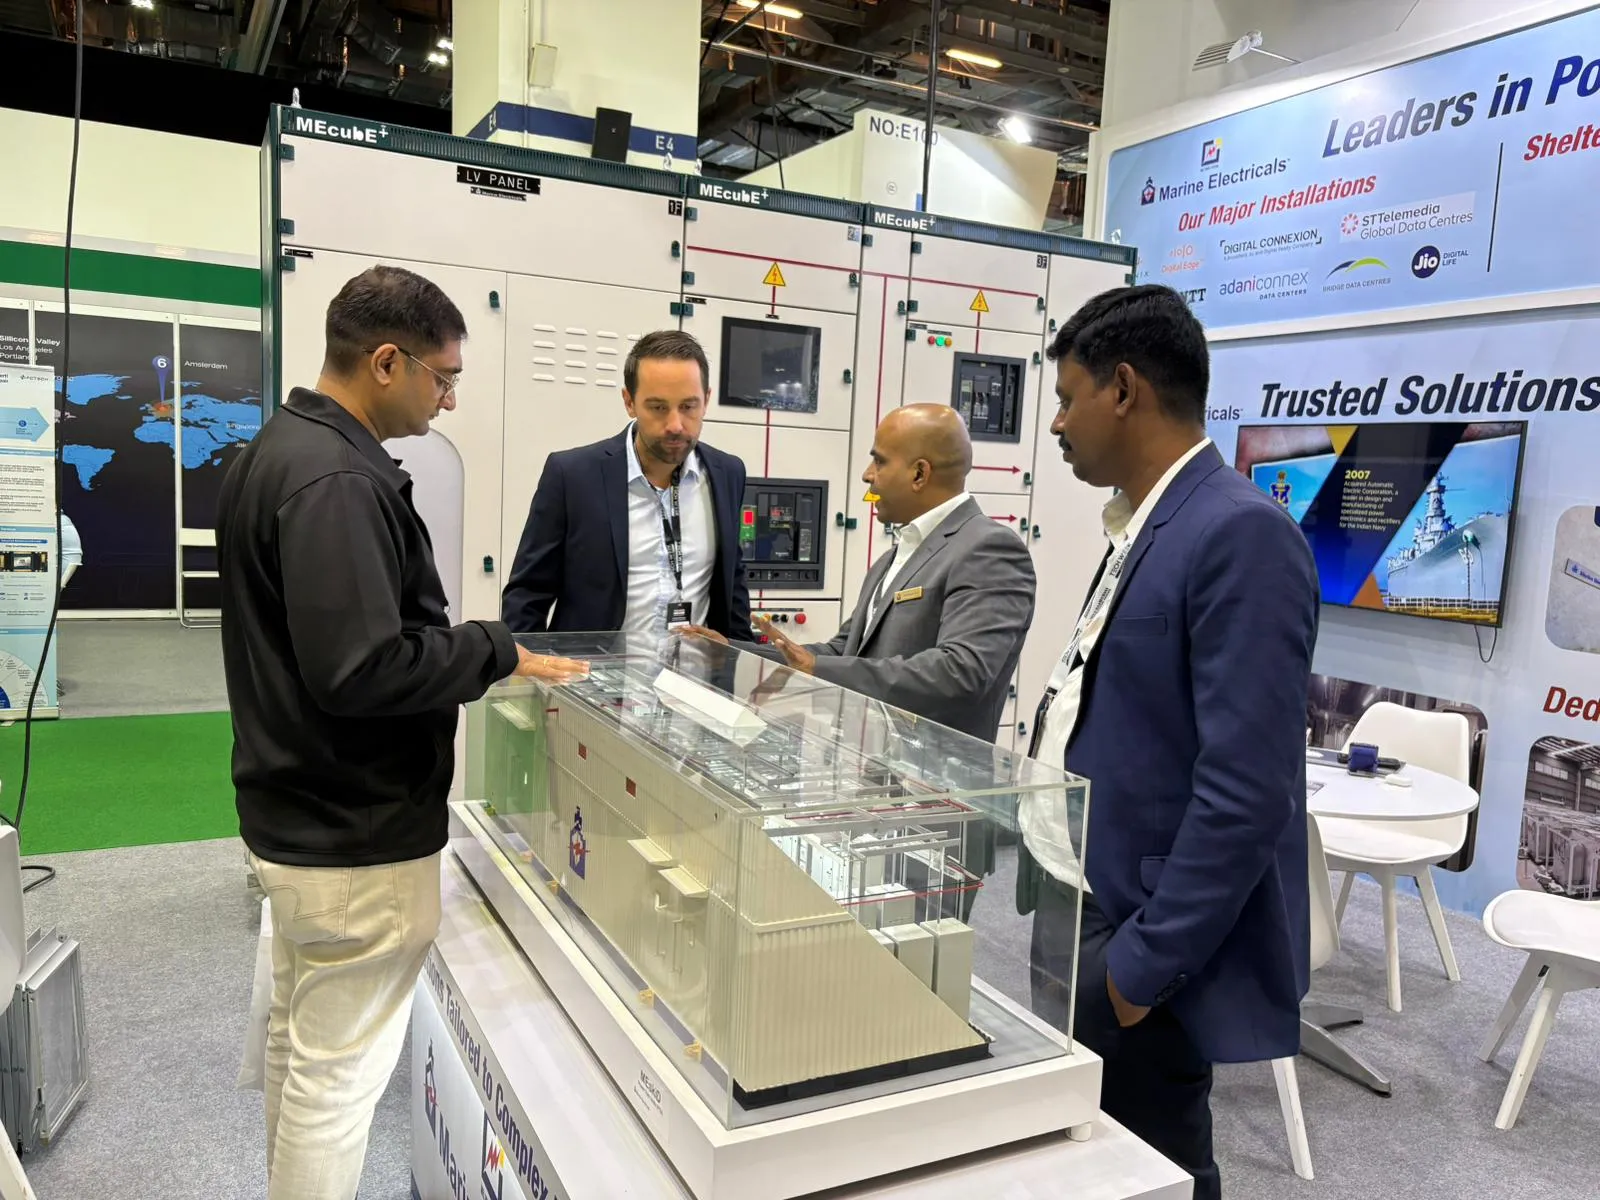
Marine Model


 Private Limited marin model.webp)
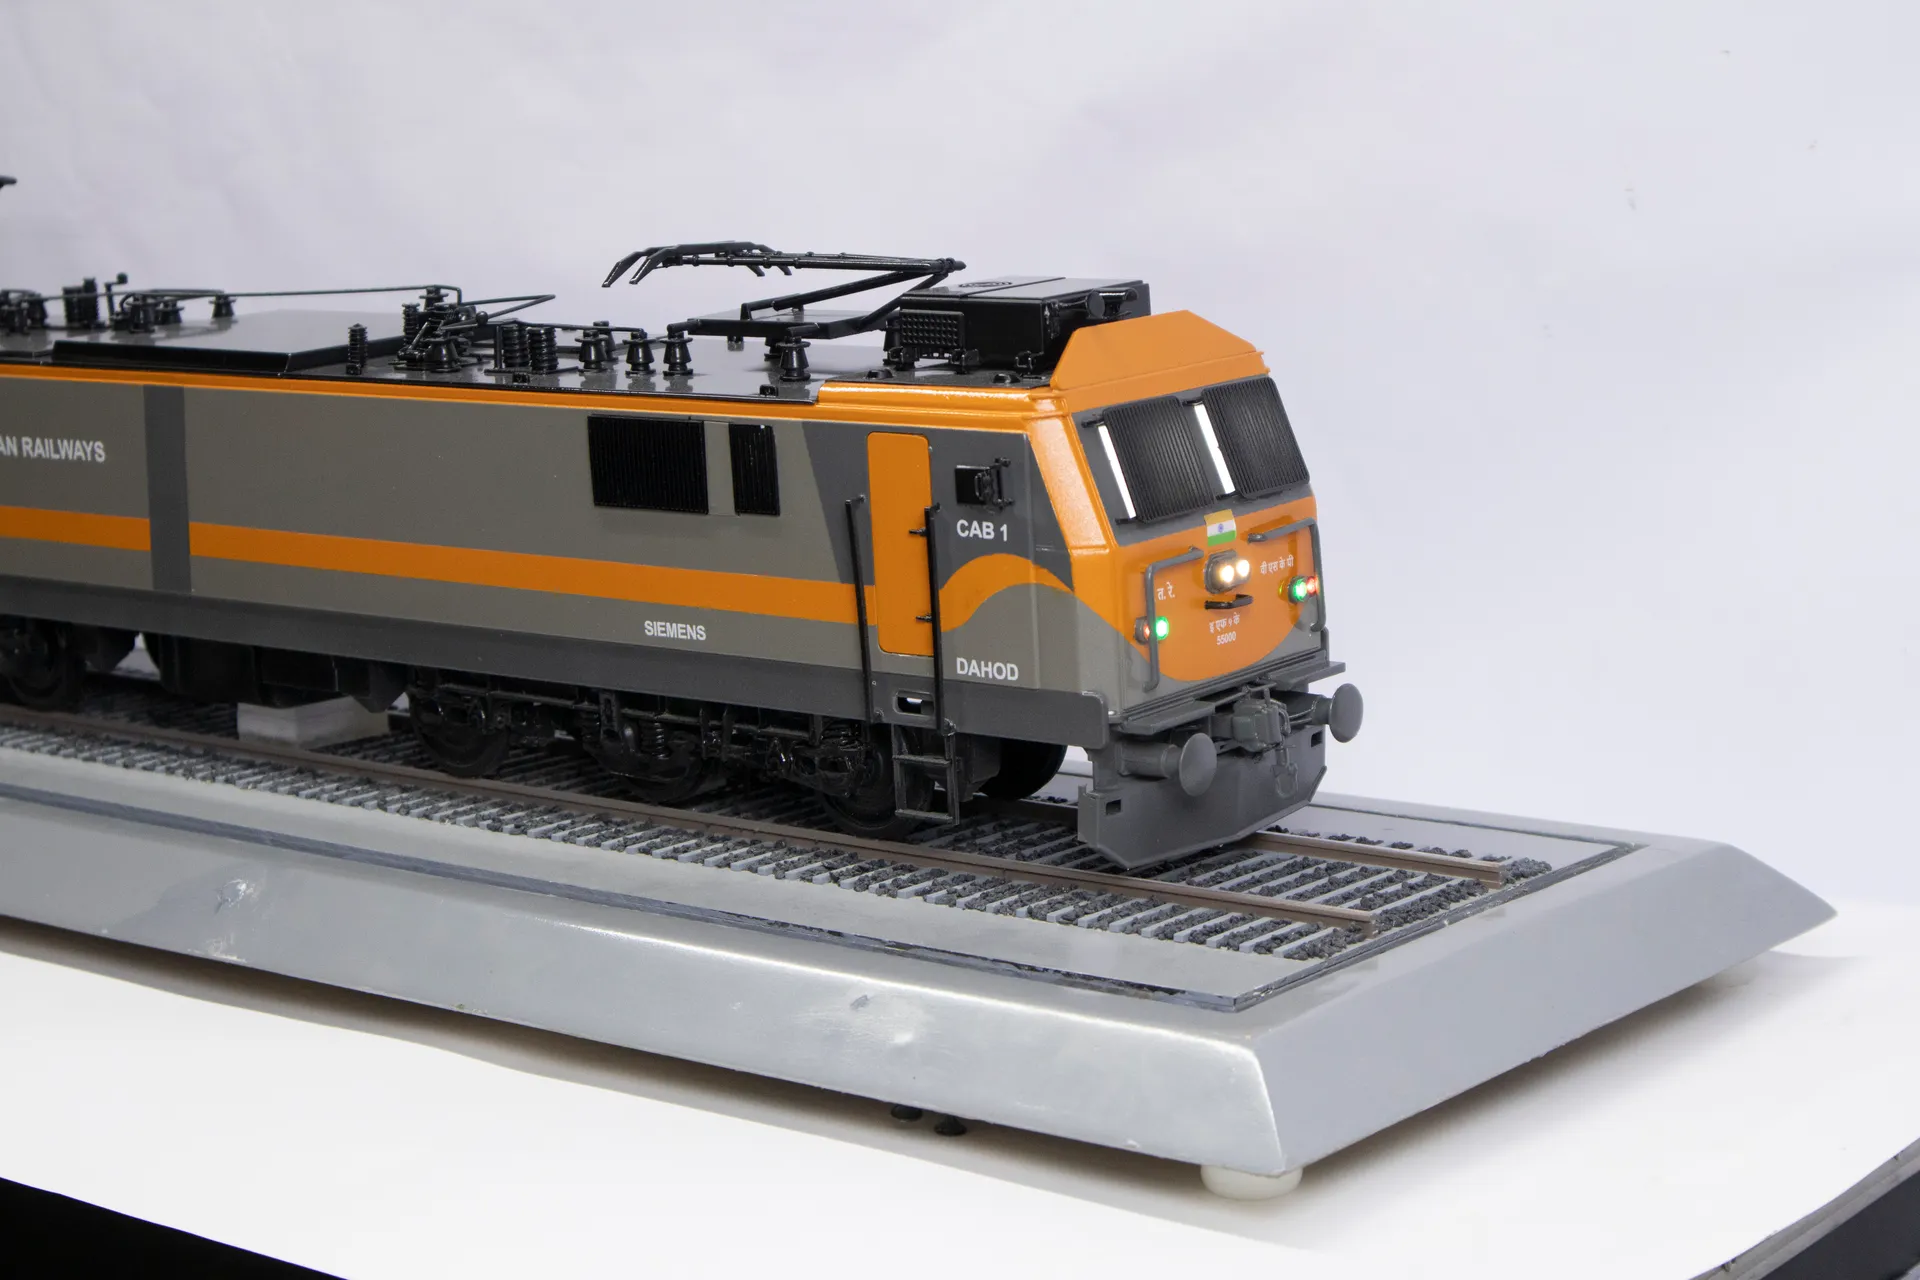
Engineering Model


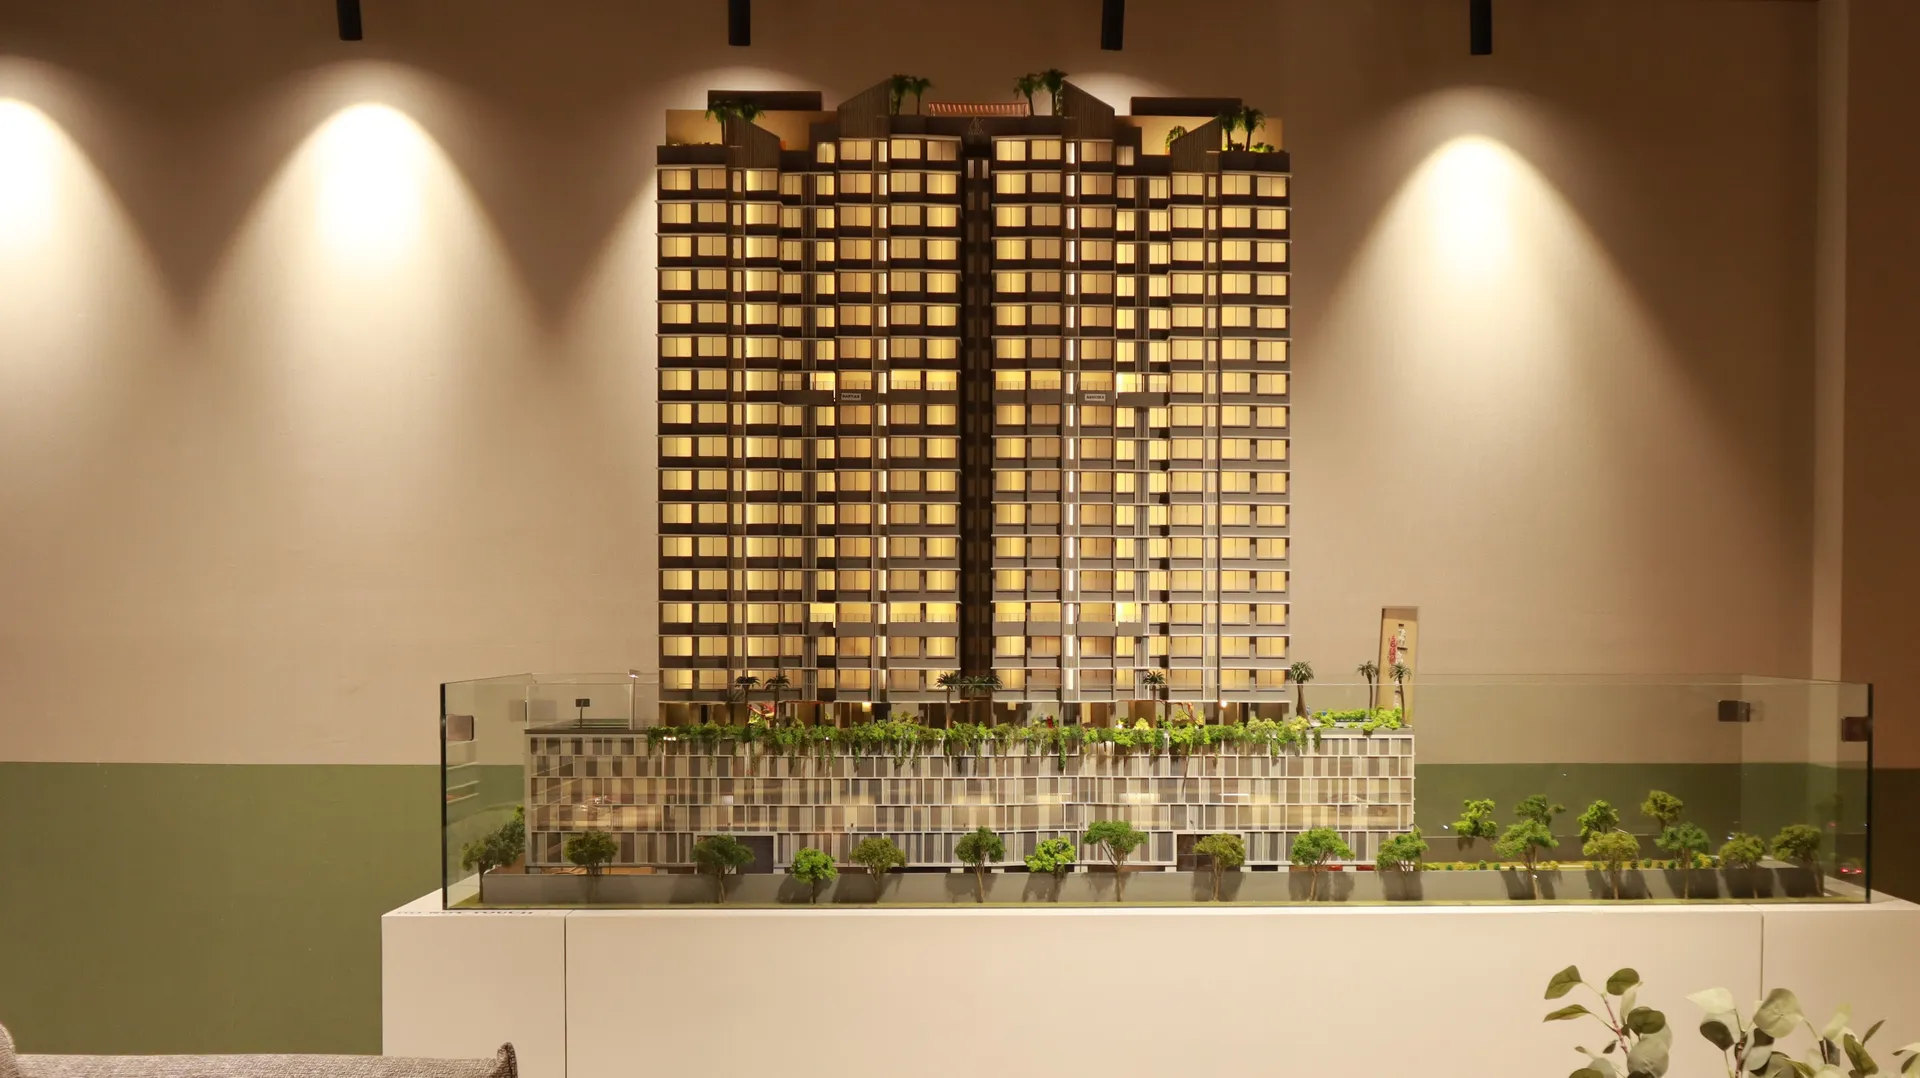
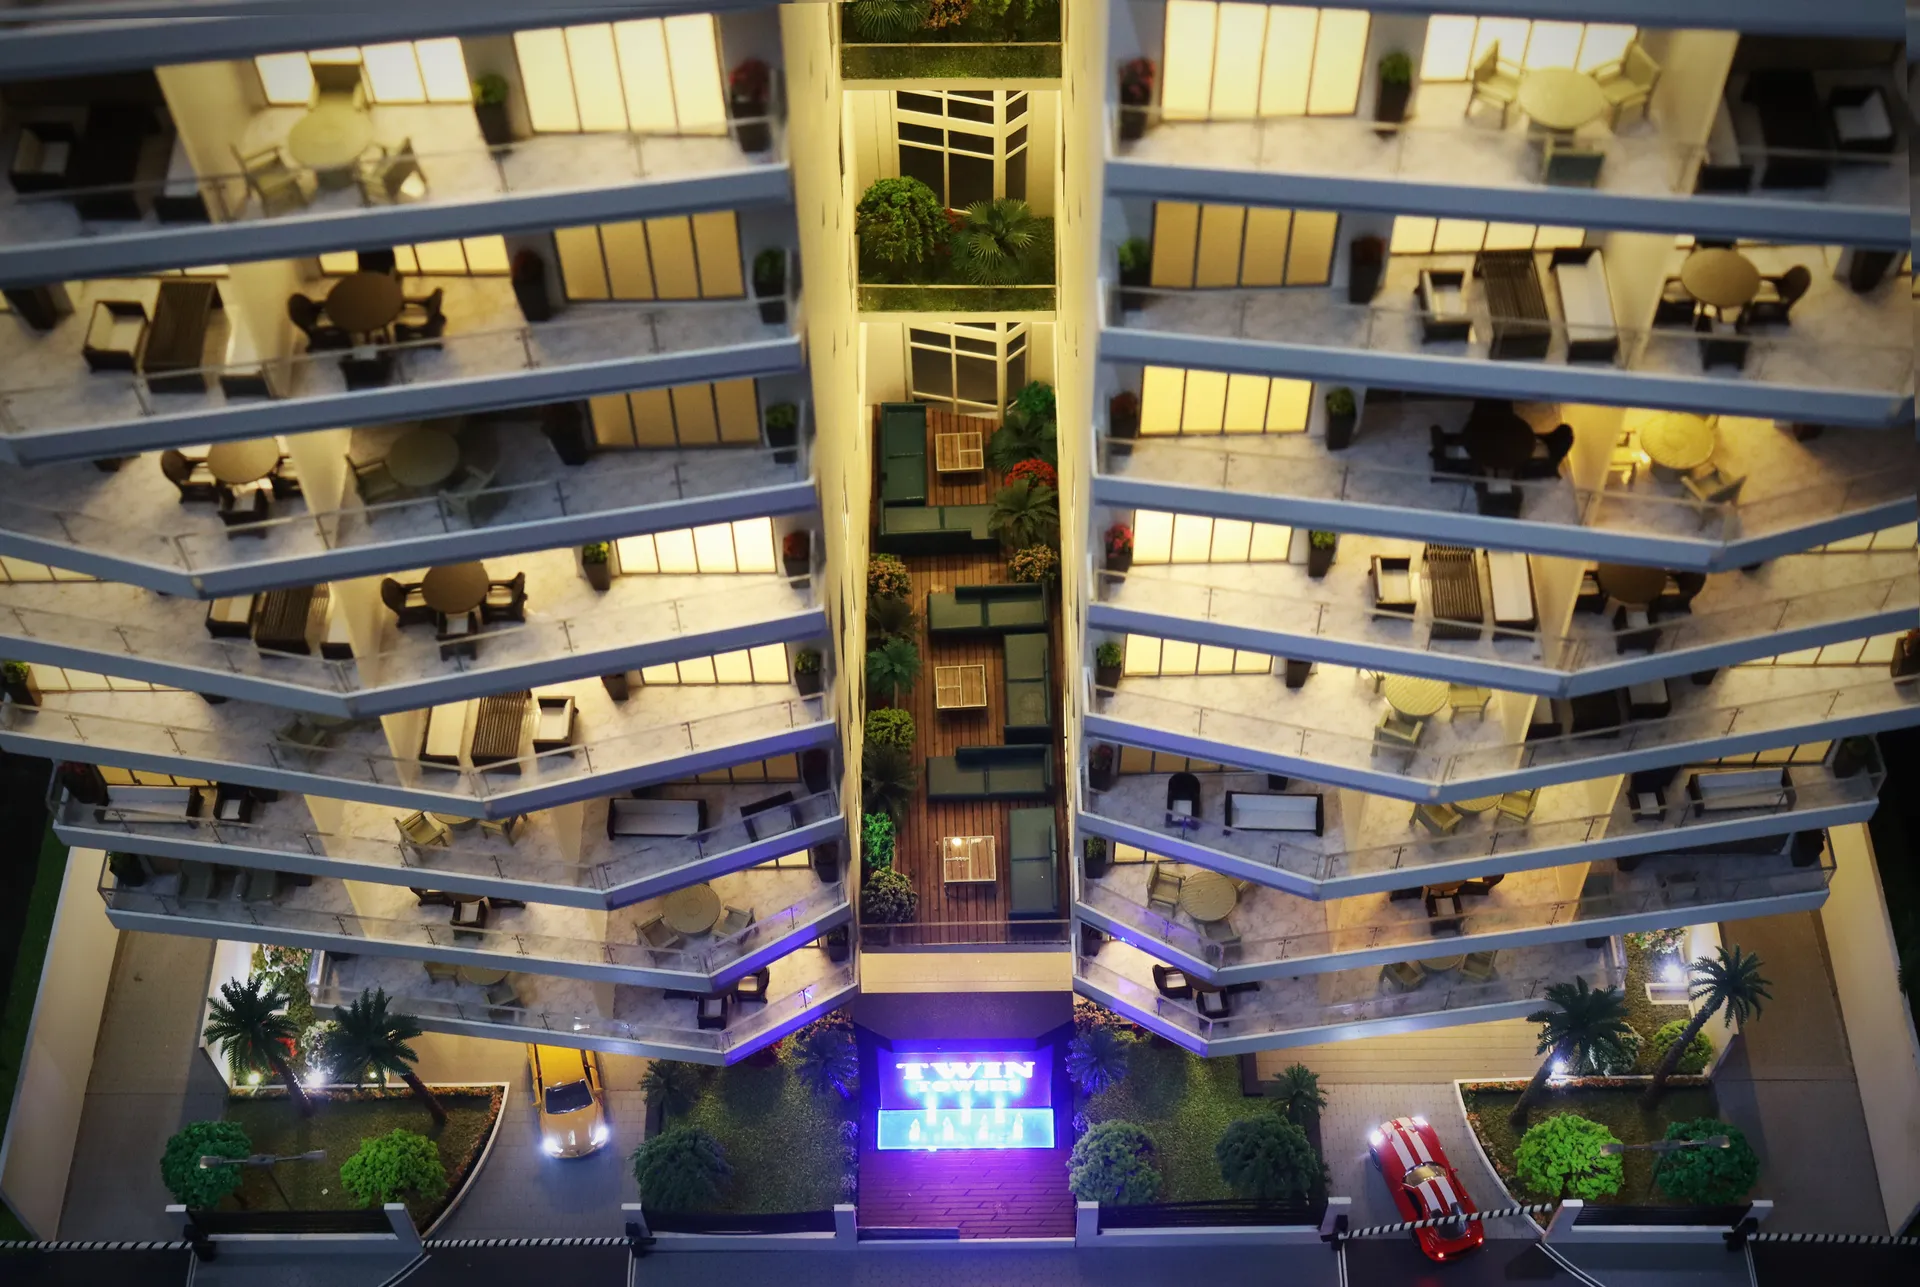
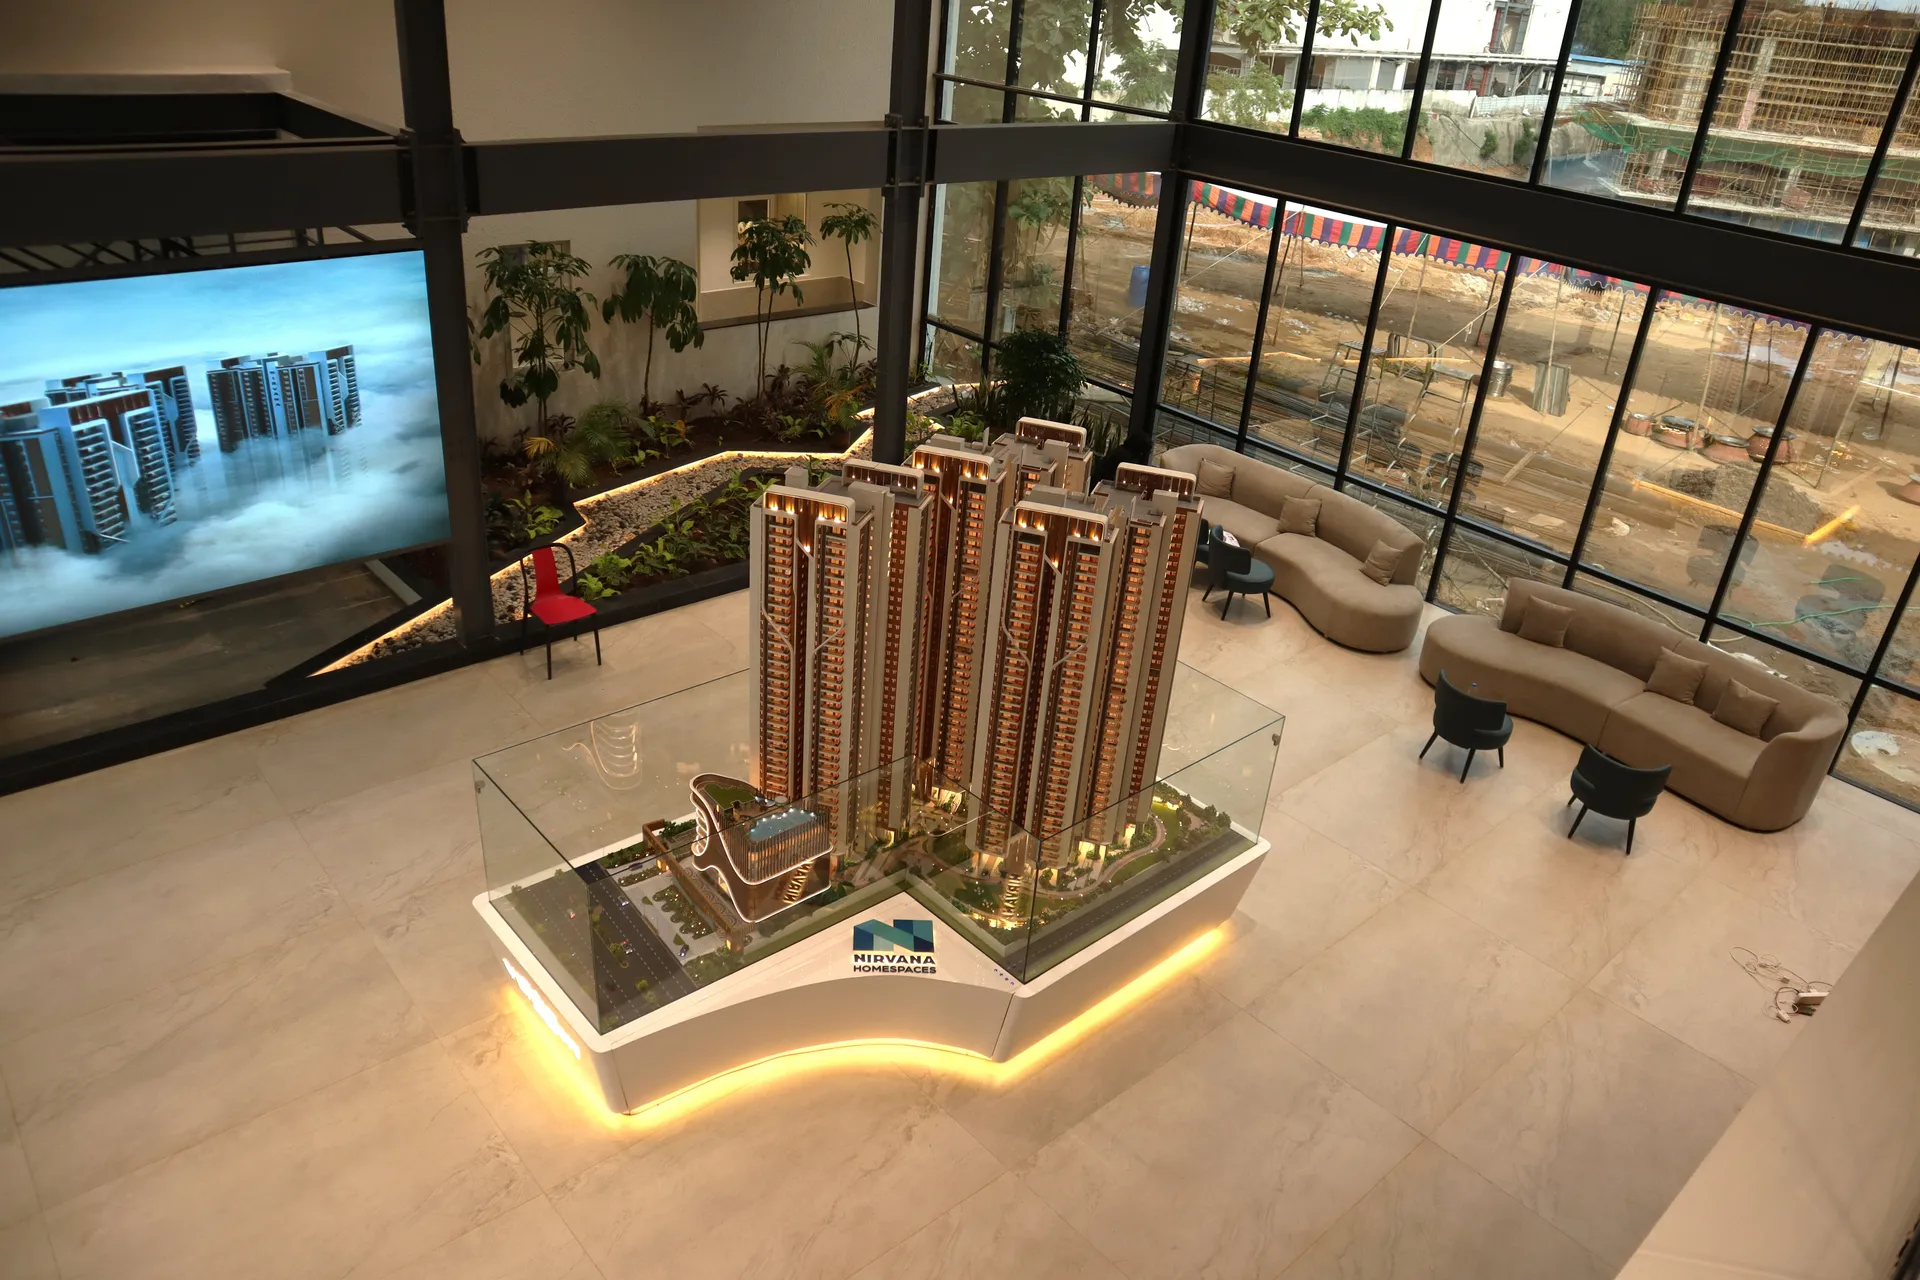
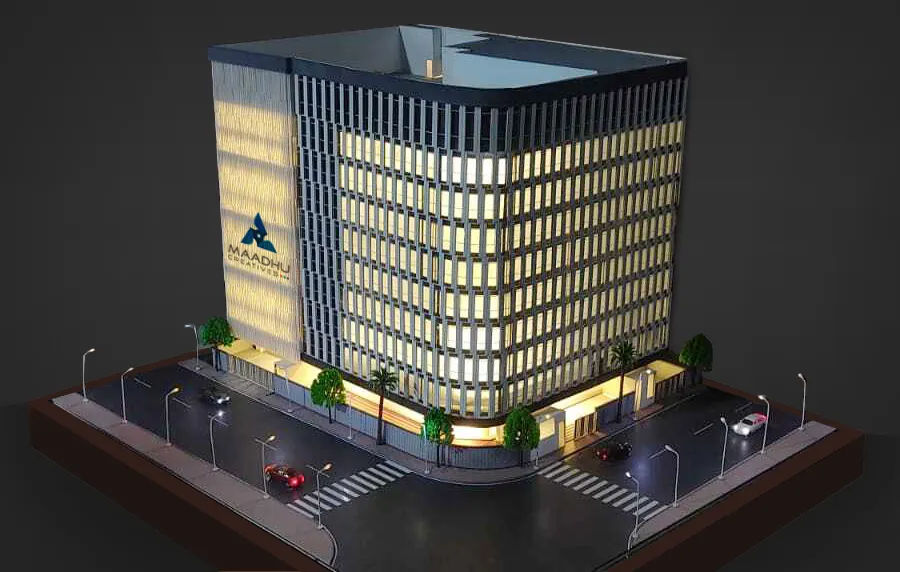
Architectural Model


It is time to focus on more creative solutions
The use of Technology has enhanced the quality of our deliverables. Our intricate models are delivered worldwide with prompt precision.
PROJECTS COMPLETED
CLIENTS WORKED WITH
CLIENT RETENTION
GLOBAL REACH
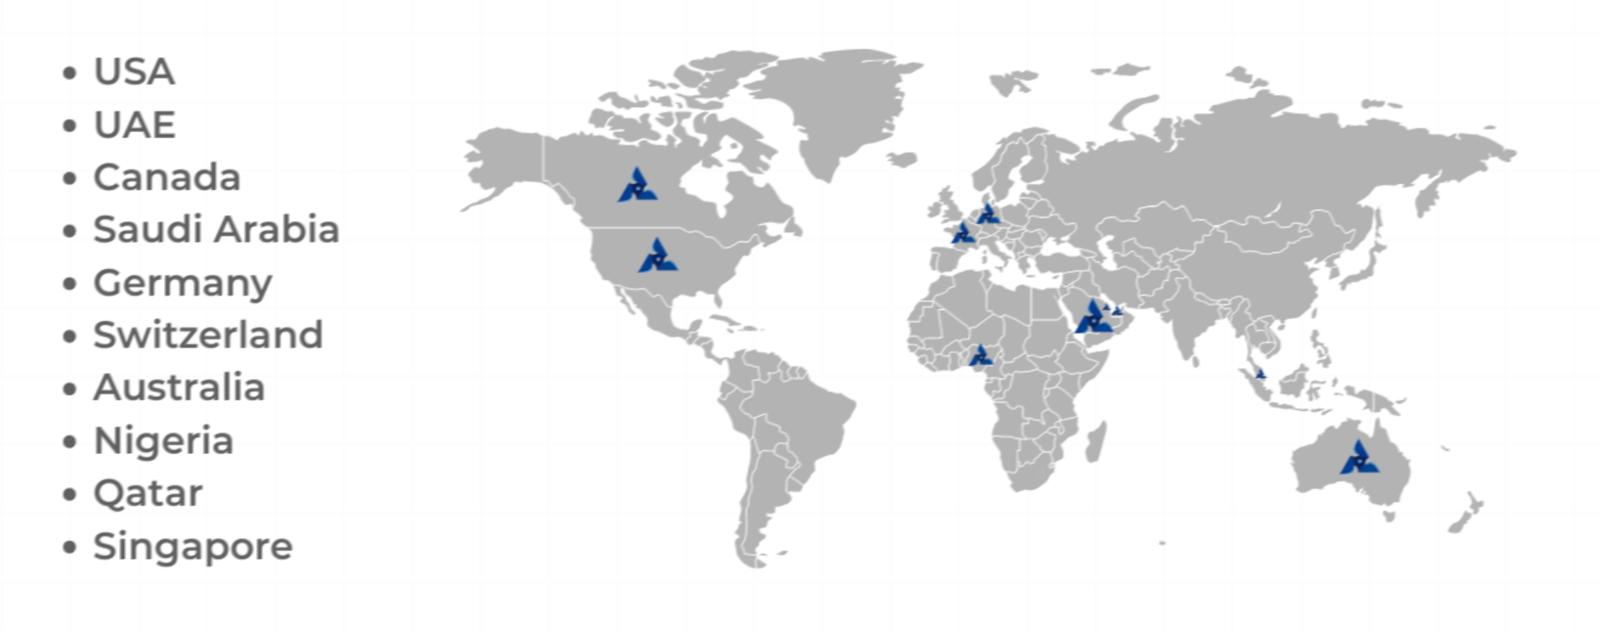
Serving Clients Across the Globe
Our models and designs are delivered worldwide with precision, reaching clients from diverse industries across different continents.
Industries We Serve
We support many industries with smart solutions, from architecture to healthcare, with strong results in every sector.
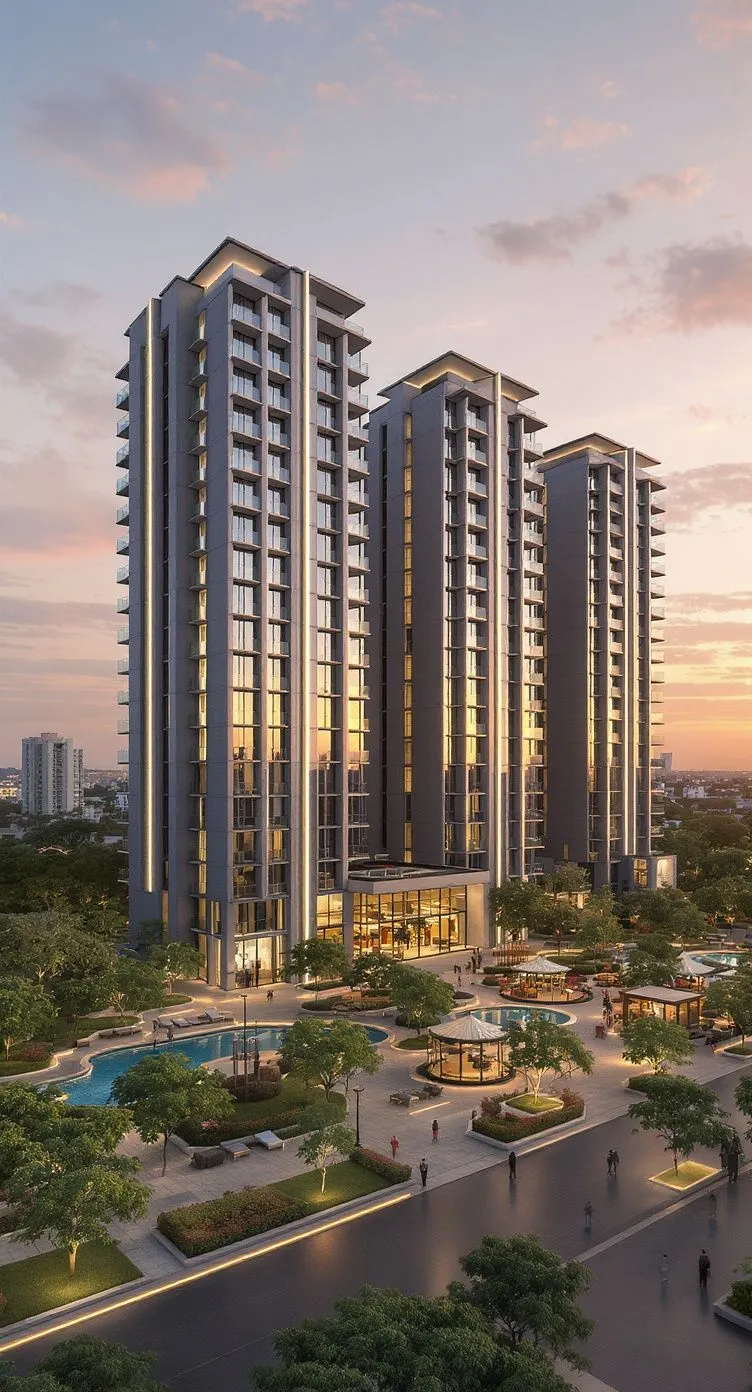
Architectural
We build clear scale models and visuals that show design, layout, and intent.
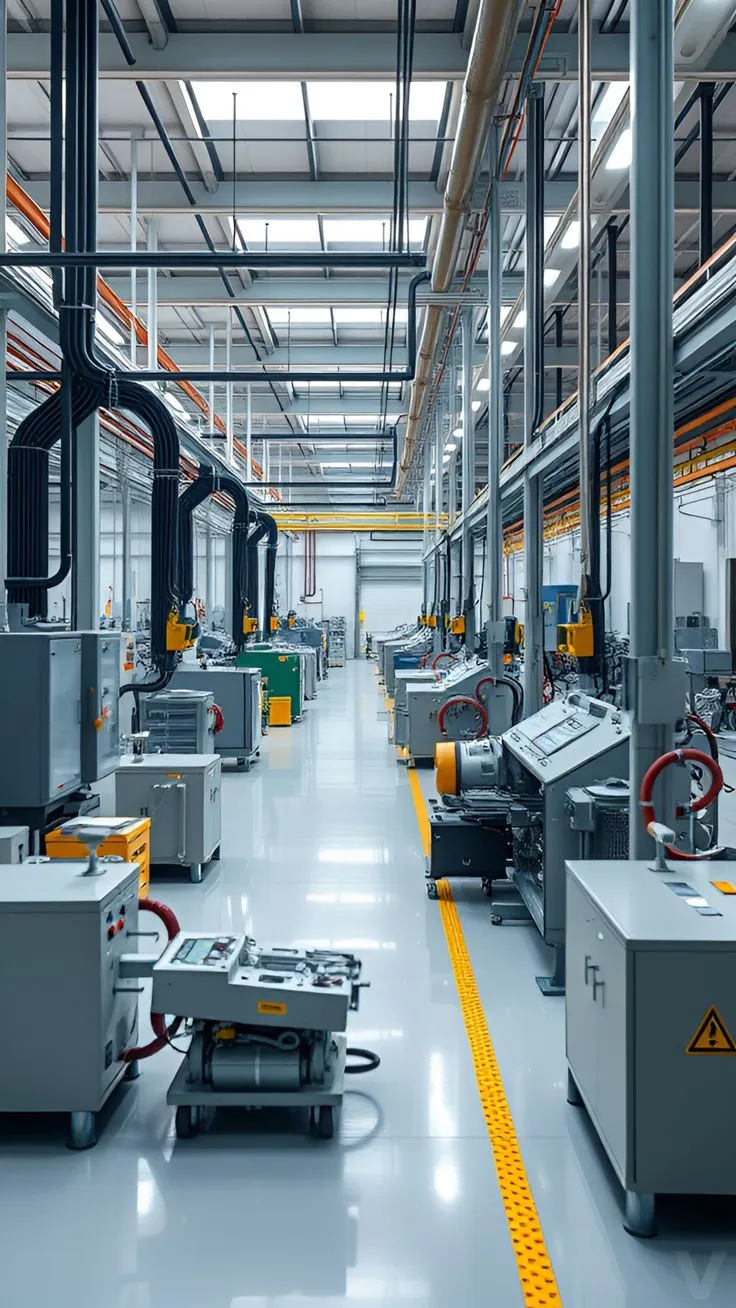
Manufacturing
We create precise models to explain machinery, processes, and workflows.
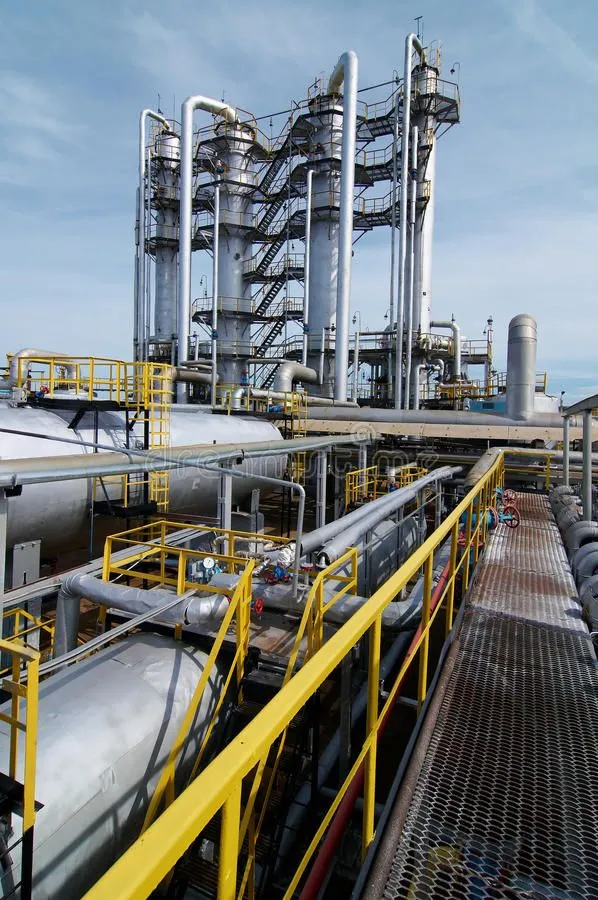
Oil & Gas
We deliver detailed models for plants, piping, and safety planning.
Shipping
We develop accurate marine and port models for planning and operations.
IT Services
We design visual models that help explain systems, data flow, and infrastructure.
Our 3D model making Service in Different Cities
Our 3D model-making service serves many cities and delivers high-quality, detailed miniatures for architecture, engineering, and industrial work.

Scale Model Making in Pune
As a renowned model-making company, we specialize in creating detailed and precise scale models for a range of industries and applications.
Explore now →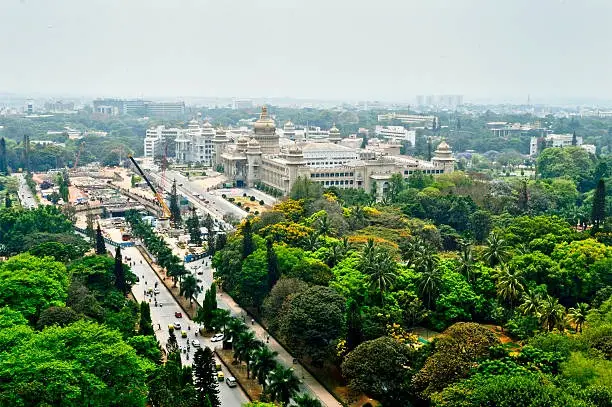
Scale Model Making Bangalore
Whether you need architectural models, industrial prototypes, or custom miniature replicas, our skilled team is committed to delivering exceptional results for every project.
Explore now →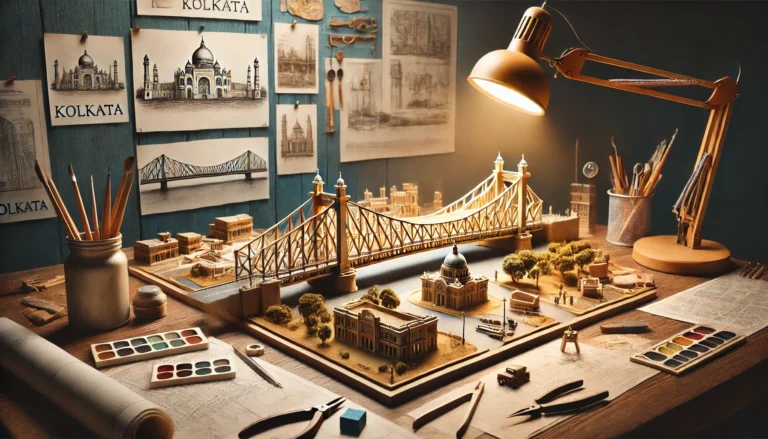
Scale Model Making in Kolkata
Welcome to Maadhu Creatives, your trusted partner for premium scale model making in Kolkata. As a leading model-making company, we specialize in crafting detailed and accurate scale models for a variety of industries and purposes.
Explore now →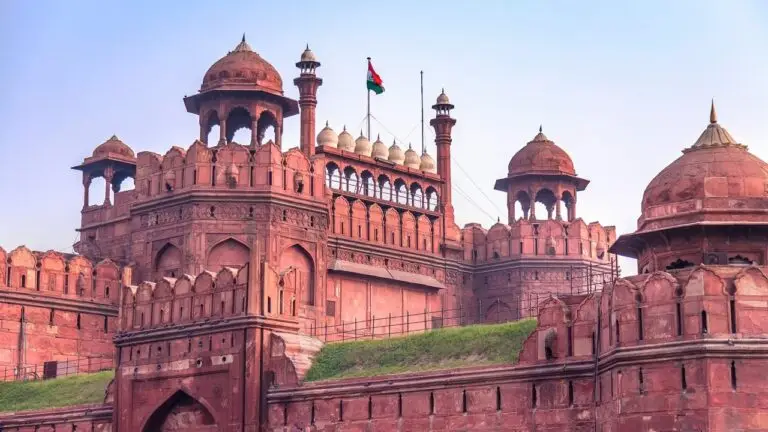
Scale Model Making in Delhi
As a leading model-making company, we specialize in creating detailed and accurate scale models for various industries and applications.
Explore now →
Scale Model Making in Pune
As a renowned model-making company, we specialize in creating detailed and precise scale models for a range of industries and applications.
Explore now →
Scale Model Making Bangalore
Whether you need architectural models, industrial prototypes, or custom miniature replicas, our skilled team is committed to delivering exceptional results for every project.
Explore now →
Scale Model Making in Kolkata
Welcome to Maadhu Creatives, your trusted partner for premium scale model making in Kolkata. As a leading model-making company, we specialize in crafting detailed and accurate scale models for a variety of industries and purposes.
Explore now →
Scale Model Making in Delhi
As a leading model-making company, we specialize in creating detailed and accurate scale models for various industries and applications.
Explore now →FAQ's About Scale model making
If this is your first time using a scale model service, you may have questions. Read on to learn more.
Get in Touch with Us
Reach out to Maadhu Creatives—let us help grow your business.