
How to Make Realistic Trees for Model Making: A Step-by-Step Guide
How to Make Realistic Trees for Model Making: A Step-by-Step Guide
Table of Contents

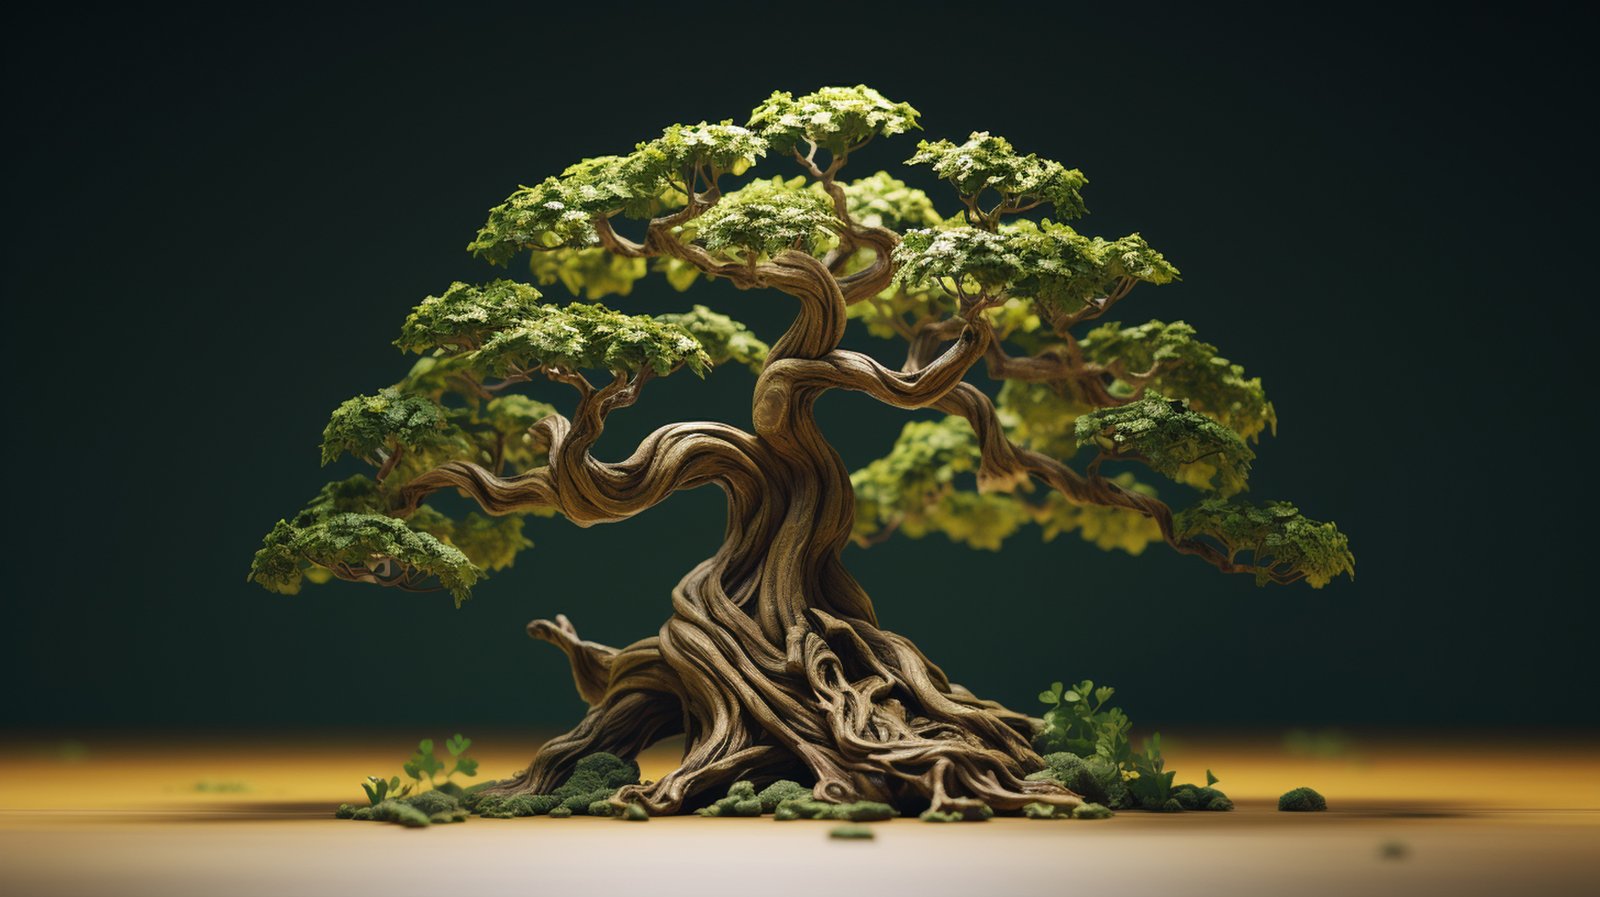
Trees have the ability to add or take away from the reality of your model. In architectural prototypes, dioramas, train settings, or even landscapes for wargaming, the presence of realistic trees will add life, scale, and a natural touch to what you are creating. The next logical consideration is how to achieve that lifelike effect.
This guide tells you about making realistic trees for models from trunk construction to foliage application. These techniques will help you improve upon your architectural model trees, your miniature model trees, and any project in between.
So let's get started!
Materials Needed for Tree Model Making
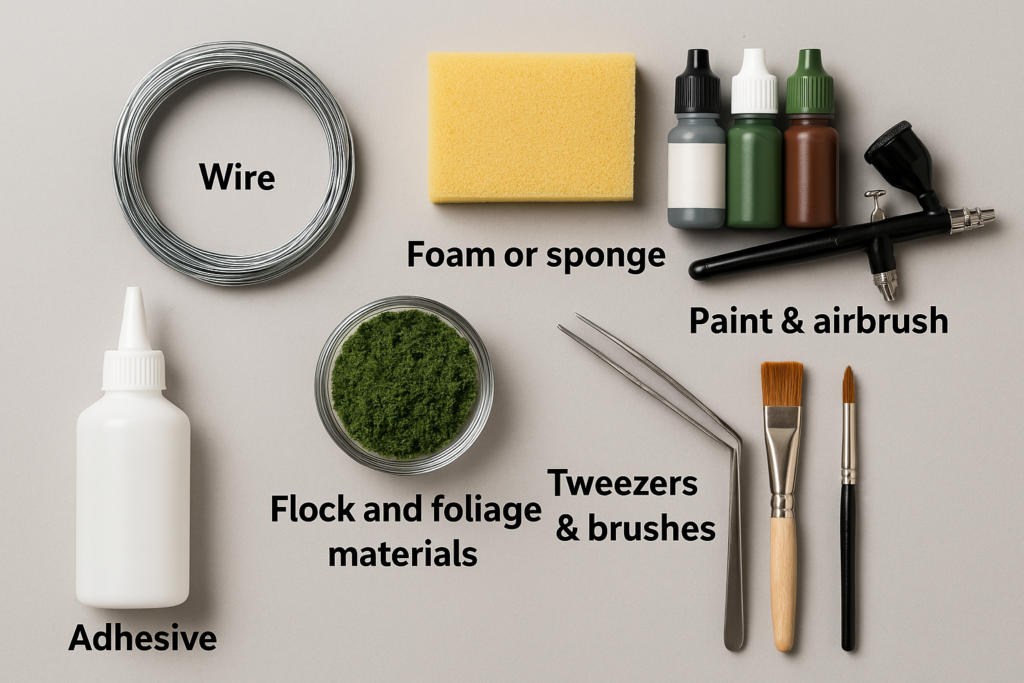
Make beautiful miniature trees to fit in your models with these handy tools and materials that you'll have readily available in most of your local craft stores or from the internet. Gather everything before you go to make it.
- Wire (the tree structure): The best for making armatures would be the use of floral wire or craft wire.
- Foam or sponge (for foliage texture): The best for making armatures would be the use of floral wire or craft wire.
- Paints & airbrush (for realistic colors): Load yourself with earthy greens, grays, and browns in acrylic paints for realistic colors.
- Adhesives (PVA glue, super glue, or spray adhesive): Essential for attaching the textures and flocking.
- Flock and foliage materials (static grass, sponge flock, or natural materials like moss): they will resemble leaves and fine branches.
- Tweezers & brushes (for detailing work): detailing work should be done here; they will be handy for precise application and delicate finishing touches.
Now repeat the process with everything you have acquired and make your masterpiece tree model!
Step-by-Step Guide on How to Make Trees for Models
In this way, the entire procedure of making trees is also broken into steps that can be easily completed as they show you how to do it, and soon you will have very lovely and realistic small-scale trees.
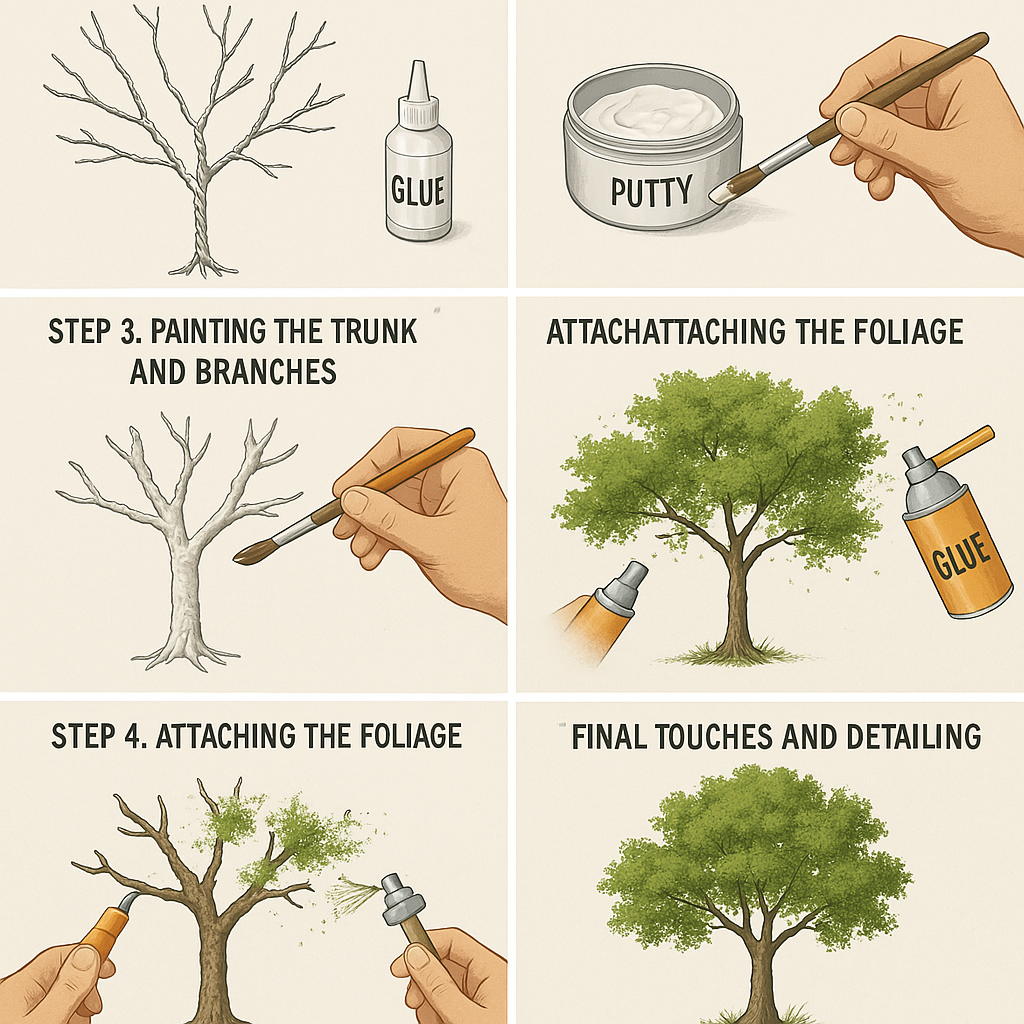
Step 1. Creating the Tree Armature (Trunk & Branches)
The armature is the skeleton of the tree, shaping it and then giving it meaning. It will be proportional to the scale.
- Form a trunk and branches using twisted wire like floral wire or use natural twigs. The trunk gives natural branching for scale model trees.
- Twist wires together for a sturdy frame and leave thinner wires at the ends as finer branches.
- Secure and reinforce the joints with glue or putty to avoid structural weaknesses.
Step 2. Adding Texture to the Trunk
There seems to be lots of actual details. In miniatures, texture and a little patience recreate all of those details.
- Cover the wire trunk and branches with acrylic putty, clay, or tissue paper combined with glue.
- Carve textures into the wet surface with a toothpick, sculpting tool, or the back of the brush. Try to mimic bark patterns under the auspices of authenticity.
- After the next step, allow the material to dry completely.
Step 3. Painting the Trunk and Branches
Color contributes more to the believable miniature trees on models than anything else. Looking at the reference photographs or seeing actual trees gets the correct shades.
- Start with a base coat in earthy tones, such as brown or grey. Apply evenly with a brush or airbrush.
- Accentuate the texture of the bark with dry brushing. Lightly brush using light brown, off-white, or ochre color and sweep over the textured areas softly to give them depth and dimension.
Step 4. Attaching the Foliage
Bring your tree to life with foliage. Select material depending on the desired look.
- Apply adhesive glue or spray adhesive over branch areas. Be careful to do sections so that the glue does not dry out.
- Make leaves from foam flocking, static grass, or natural moss. Place leaves in a variety of greens in layered amounts in architectural model trees to provide realism.
- Press the flocking material carefully into the glue so that it will stick
Step 5. Final Touches and Detailing
It's the details that give your tree a professional touch.
- Dry brush to bring out the bark textures even more and create depth on the branches.
- Style and trim the leaves to achieve a more realistic outline. Be precise when stripping off excess flocking material.
- Incorporate additional details such as roots showing, leaves falling off, or tufts of grass at the bottom of the tree for added realism.
Pro Tips for Making Realistic Model Trees
Creating quality trees requires skill, but these tips can make the process even easier.
- Reference Real Tree Species: Research the various species of trees to achieve diversity. Each species has a distinctive trunk shape, leaf density, and branch pattern.
- Experiment with airbrushing: Airbrush for delicate gradients for leaf shading and weathering of bark. This adds depth and color.
- Mix Handmade and Pre-made Foliage: If time is of the essence, combine DIY trees with pre-made ones to grow your forest in no time.
Bring Your Models to Life!
The whole thing seems really scary and would easily scare anyone who is not into making realistic tree models for architectural or hobby projects. Follow these steps to easily strip them off their chains. Good materials should be collected alongside good practice in crafting and will not feel less inclined to try out new things to improve the process.
Spend time perfecting this little miniature model tree, and you will really bump it up a notch for your miniature model building projects. Private or professional-even they really pull these model-building projects up a notch.
And best of all, we want to see your handiwork! Post them and inspire others. Any tips, tricks, or jaw-dropping demonstrations of how you make your tree models? Put them in the comments below!
Reinvent this art of scenery with those handmade woods.
Conclusion
Creating realistic model trees adds depth, charm, and authenticity to any miniature project. With the right materials, techniques, and a bit of patience, you can bring your models to life like never before. Whether for architectural models, dioramas, or hobby landscapes, lifelike trees elevate the entire scene. Ready to take your models to the next level? Trust the experts at Maadhu Creatives—India’s leading model-making company—for professional, high-quality miniature trees and complete model-building solutions. Contact us today to turn your vision into a stunning, detailed reality. Let Maadhu Creatives bring your miniature world to life!
Recent PostsFAQs
1. What materials are best for making model trees?The best materials include floral or craft wire for the armature, acrylic putty or tissue for bark texture, acrylic paints for coloring, foam or sponge flock for foliage, and adhesives like PVA glue or spray adhesive.
2. Can I use natural materials to make trees?Yes! Twigs, moss, and dried roots can be used for a more organic look. However, treat them properly to avoid pests or decay.
3. How can I make the tree bark look realistic?Use putty, clay, or glued tissue paper for texture. Carve bark patterns while the material is wet, then dry-brush with lighter tones to highlight texture.
4. Can Maadhu Creatives make custom trees for my model?Absolutely! Maadhu Creatives specializes in custom miniature model trees and full-scale model environments. Contact us to bring your ideas to life.